
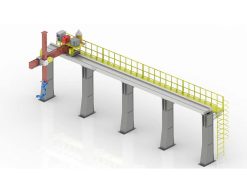
 Robot Linear track
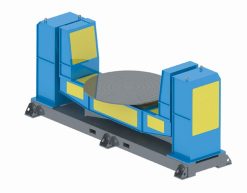 Robot welding Positioner
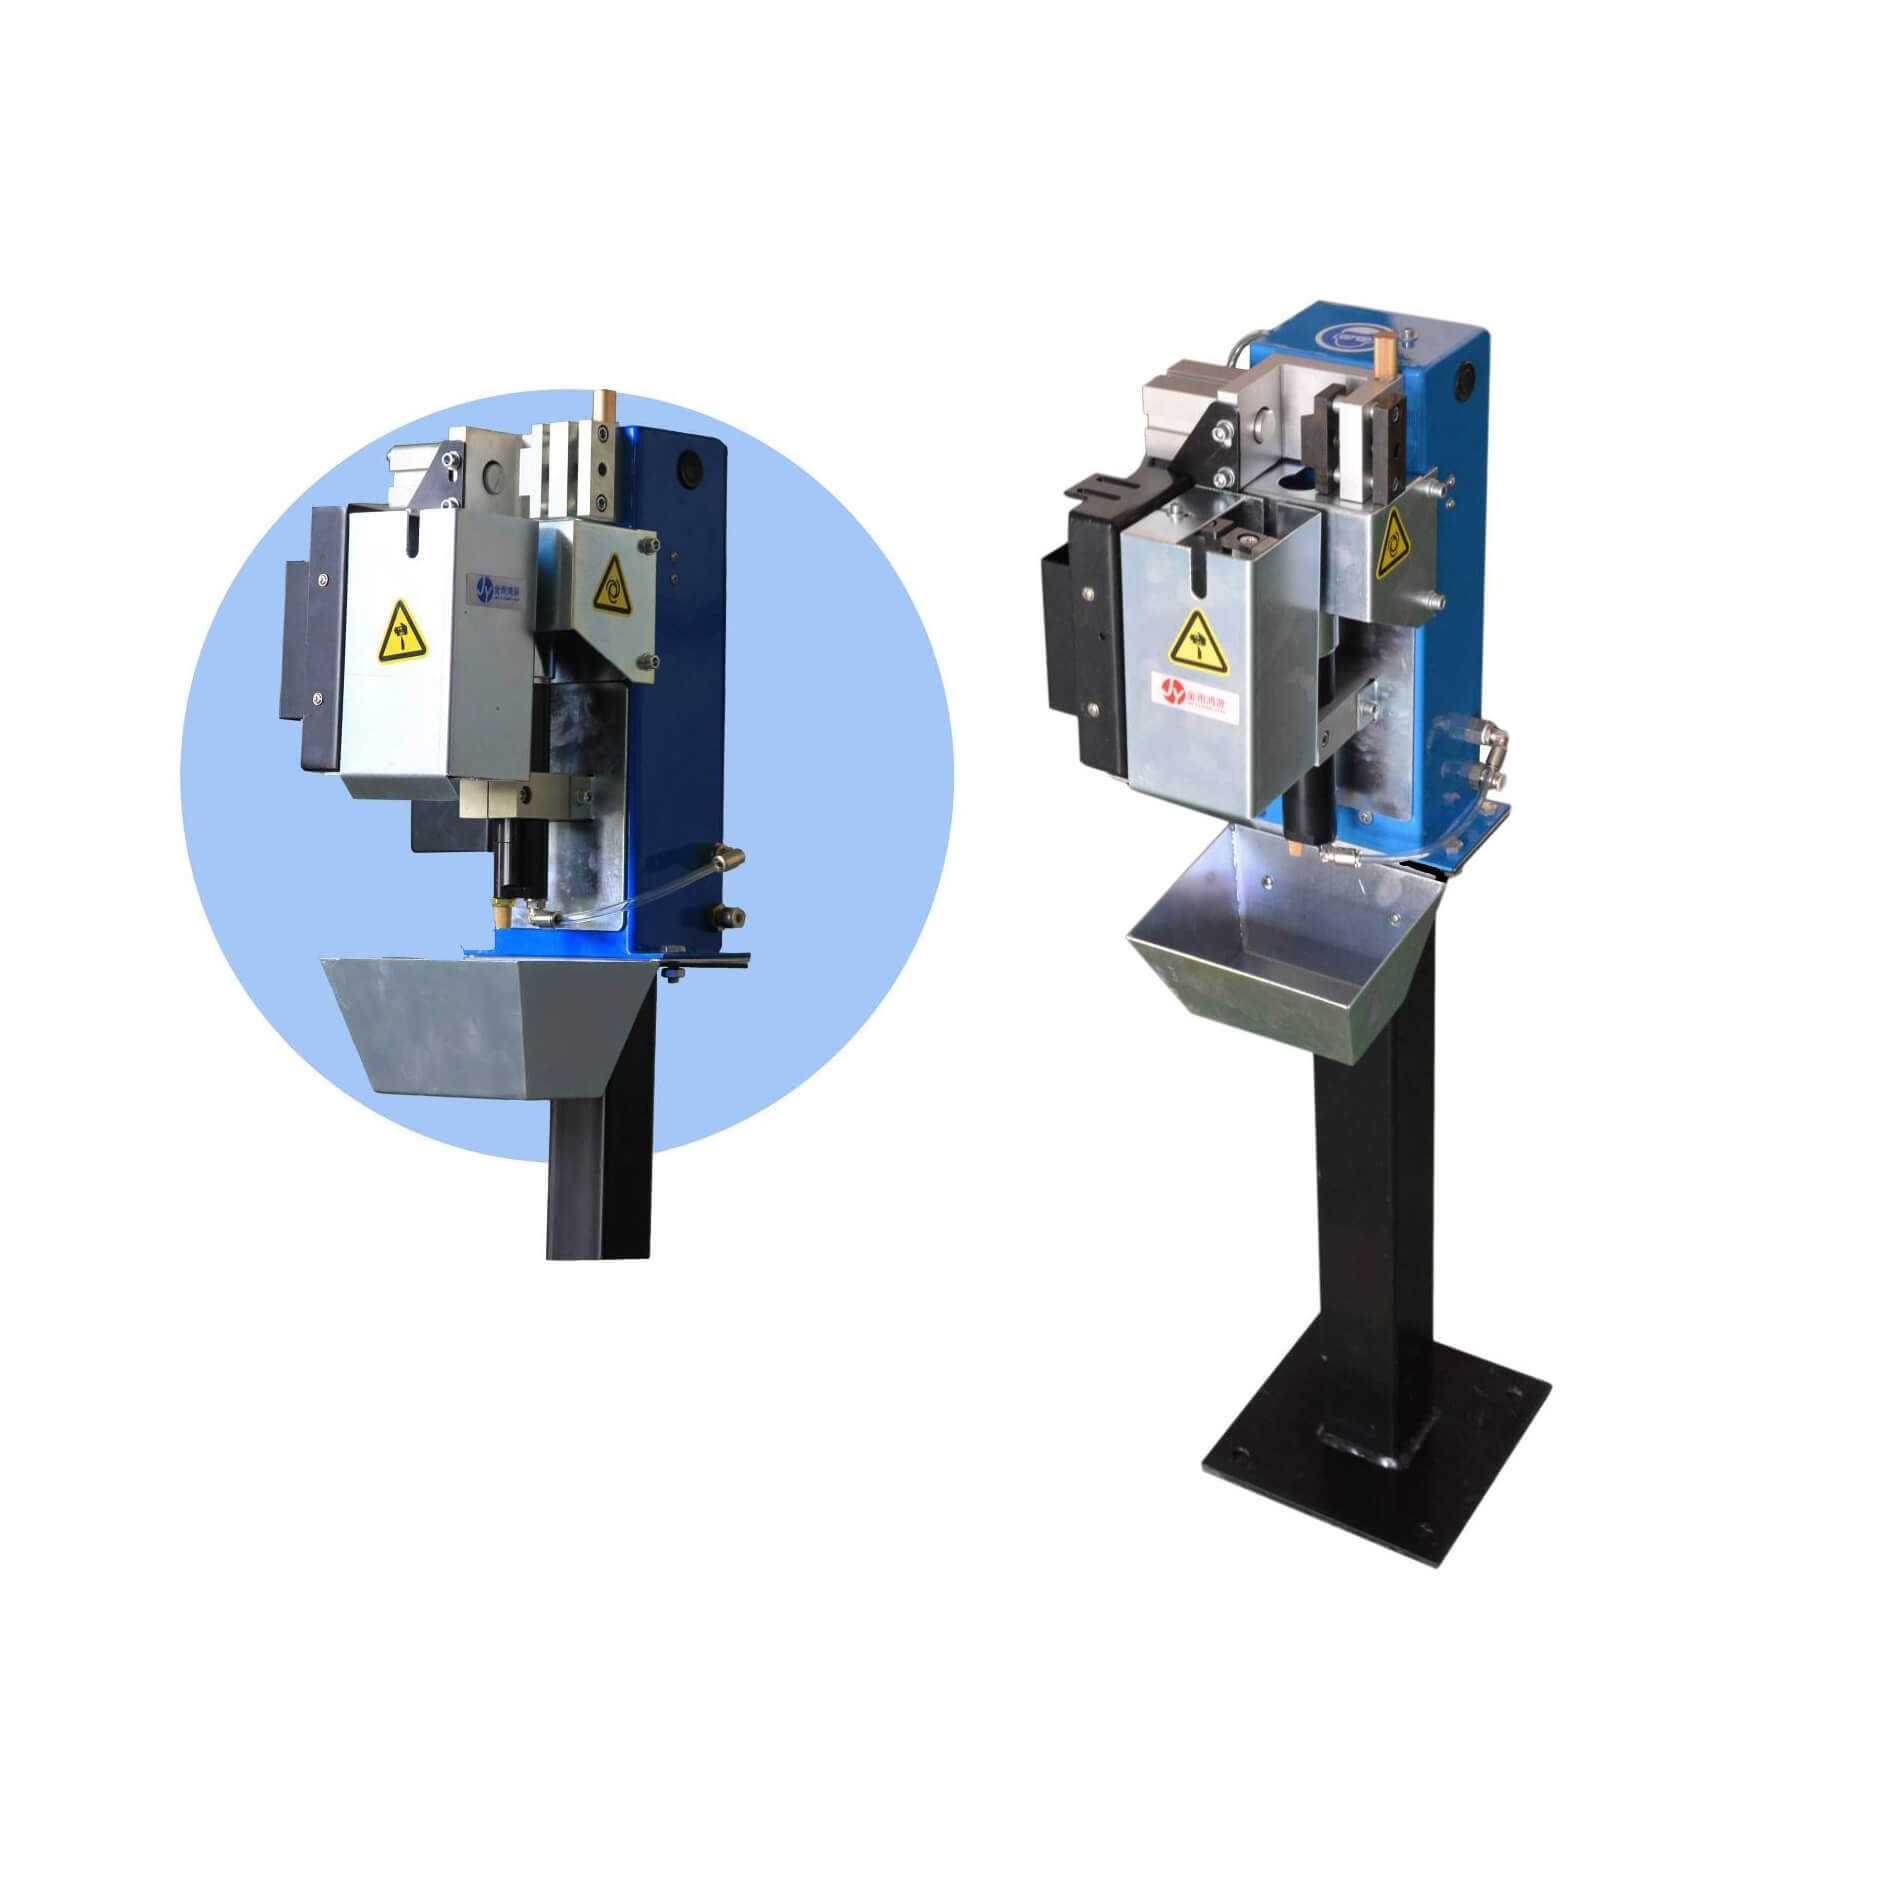 Robot Torch cleaning station
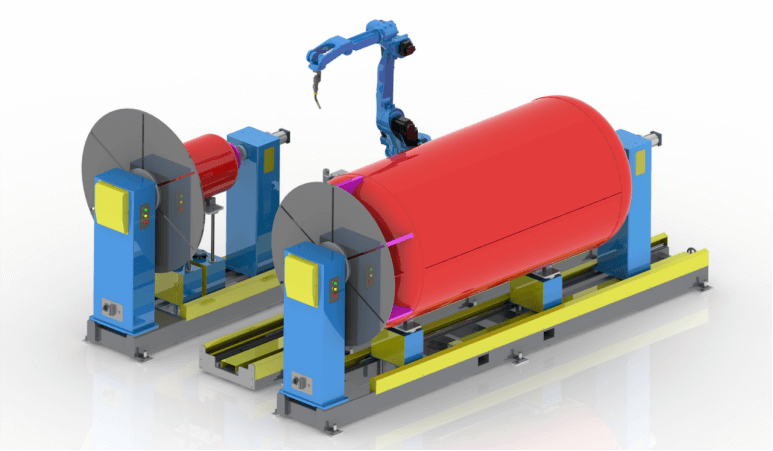 Welding Robot Workstations & Automation Solutions
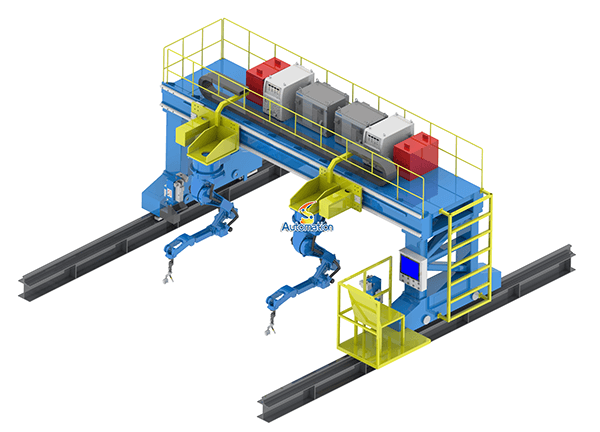 Robot Gantry System
The call nobody wants six months after commissioning
The track ran beautifully at handover. The robot hit its taught points, the welds landed where they were supposed to, and the acceptance report showed repeatability inside ±0.1 mm. Then, somewhere around month four or five, the operators start noticing things. A weld seam sits a millimetre off the joint. A pick point that worked for months suddenly needs a nudge. Somebody re-teaches the points on Monday, and by Friday they are off again.
Nothing has broken. The robot still moves, still homes, still runs the program. That is exactly what makes this problem so frustrating: the track looks fine, but the workpieces say otherwise.
Accuracy loss after six months is rarely one failure. It is several small changes adding up — a foundation that settled a fraction of a millimetre, a rack that wore a little, grease that stopped doing its job, a rail that collected a season’s worth of spatter. Each one is small. Together, they move the weld.
This article walks through the seven causes we see most often in real installations, how to tell them apart with simple checks, and what to do about each one before it turns into scrap, rework, or a line stop.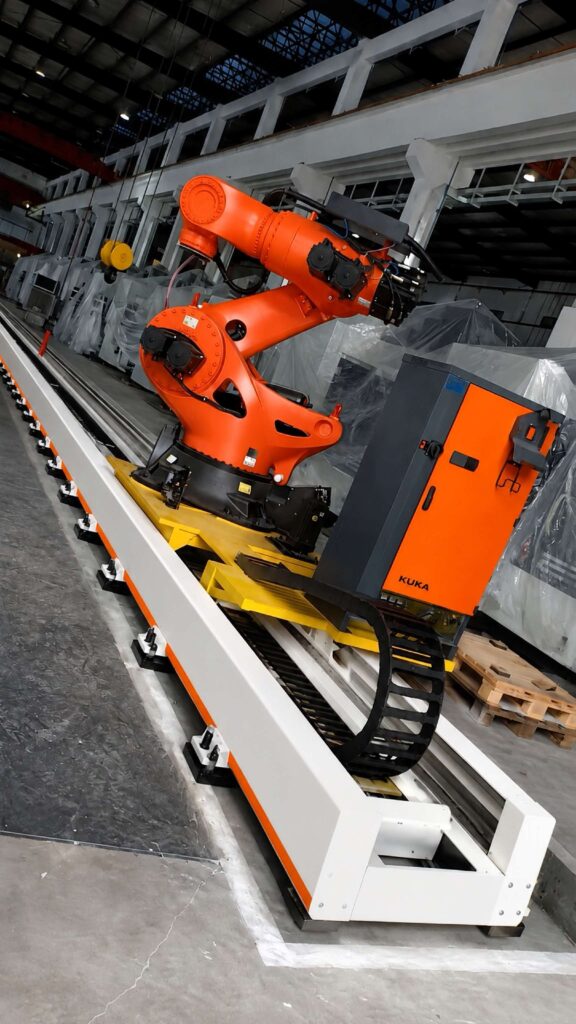
First, be clear about what “accuracy” means here
Two numbers get confused constantly, and the confusion wastes a lot of diagnostic time.
Repeatability is how closely the track returns to the same taught point when it approaches from the same direction, under the same conditions. This is the ±0.1 mm figure on most track datasheets, including ours. It is measured on a new track, at a stable temperature, with a rated payload.
Absolute accuracy is how close the track puts the robot to the programmed coordinate in the real cell, after months of thermal cycles, load changes, and wear. That number is always worse than repeatability, and it is the number your weld quality actually depends on.
When a customer says “the track lost accuracy,” they usually mean one of two things: the robot no longer returns to the same point (repeatability is gone), or the point itself has moved relative to the fixture (the whole system drifted). The fix is different in each case, so the first job is to find out which one you are dealing with. We will come back to that in the diagnostic section.
1. The foundation moves before the track does
A robot linear track is only as stable as what it is bolted to. This is the single most common cause of slow accuracy loss, and also the one most often blamed on the track itself.
Concrete keeps curing and shrinking for months after it is poured. Anchor bolts relax as the grout beds in. A base plate that was levelled to 0.05 mm/m at installation can be out by two or three times that half a year later — and on a 10-metre track, a small angular change at one end becomes a visible offset at the other.
The signs are consistent: the error grows gradually, it is worse at one end of the travel than the other, and re-levelling the track fixes it — for a while. If the error returns within weeks of re-levelling, the foundation is still moving or the anchors were never properly torqued.
What to do: Check the level of the track base at several points along its full travel with a precision level, and compare it against the installation record. Re-torque anchor bolts to the specified value and check them again after a month. If settlement is still active, the honest answer is to wait for it to stabilise and then re-level and re-grout — shimming a moving foundation every month is not a maintenance plan.
We covered the installation side of this in detail in our guide to 7 common robot linear track installation mistakes — most of the accuracy problems in this article start with a shortcut taken on day one.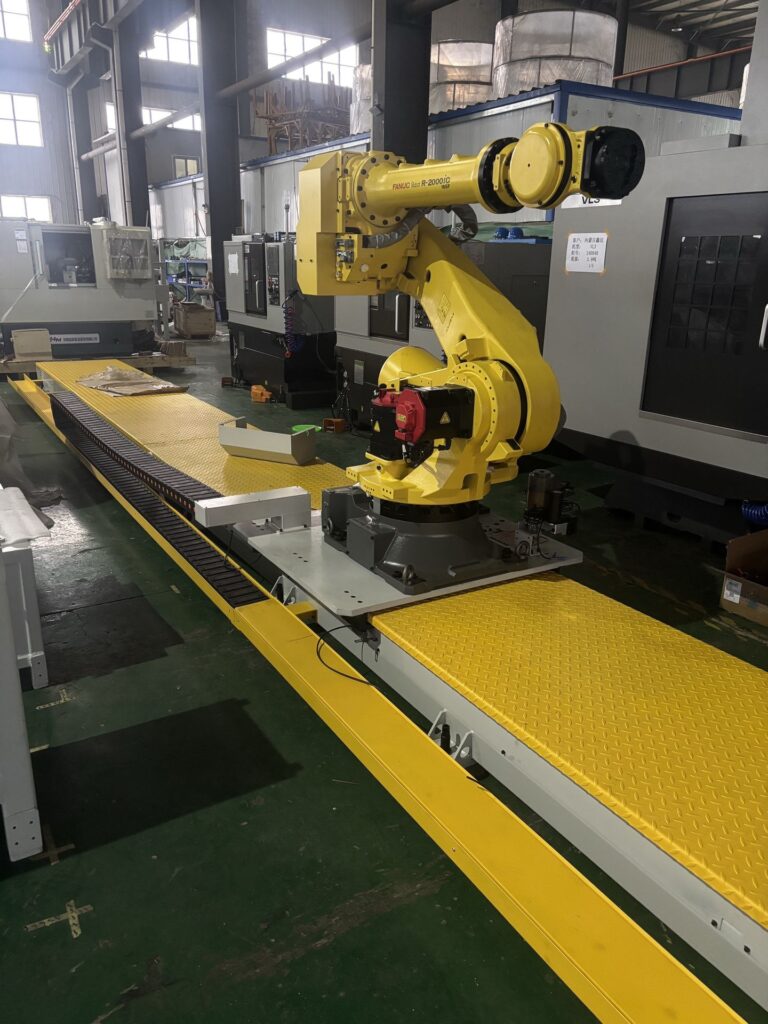
2. Rack and pinion backlash grows with wear
Most heavy-duty robot tracks use a rack and pinion drive: a hardened pinion on the carriage meshes with a rack along the base. It is robust and it handles long strokes well, but the mesh is a wear item. Every reversal, every acceleration, every emergency stop takes a little material off the tooth flanks.
As the teeth wear, backlash grows. The symptom is directional: the robot stops slightly short when approaching a point from one direction, and slightly long from the other. Operators often describe it as “the point moves depending on which way the track came in.” That is textbook backlash, and it gets worse month by month once it starts.
Lubrication makes the difference between a rack that lasts years and one that wears out in one. A rack that runs dry in a welding environment can wear visibly within months. The pinion is usually the first thing to check — it is smaller, it sees every tooth of the rack, and it wears faster.
What to do: Measure backlash at the carriage with a dial indicator: drive the carriage against a fixed stop in one direction, zero the indicator, reverse, and read the lost motion. Compare it with the value recorded at commissioning. If backlash has grown beyond the manufacturer’s limit, adjust the pinion preload or mesh if the design allows it; if the teeth are visibly worn, replace the pinion before it starts damaging the rack. And check the lubrication — a rack that is wearing fast is very often a rack that is running dry.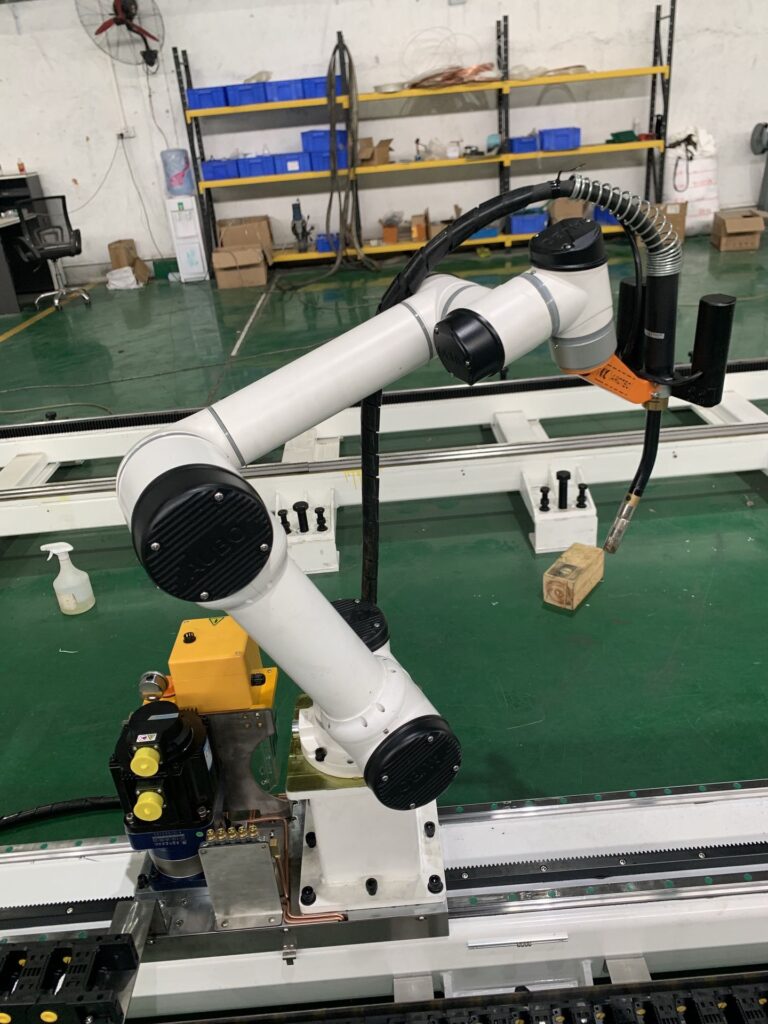
3. Contamination: welding spatter, dust, and grinding debris
A robot track in a welding cell lives in one of the harshest environments in the factory. Spatter lands on the rails. Grinding dust gets everywhere. Fine metallic dust mixes with grease into an abrasive paste that grinds the raceways every time the carriage passes.
The result is not sudden failure — it is a slow loss of smoothness and repeatability. The carriage starts to hesitate at certain positions. Positioning scatter grows. In bad cases you can feel roughness by hand when the carriage is moved slowly with the servo off.
Rail wipers are the first line of defence, and they are a consumable. Once the wiper lips are worn or torn, debris goes straight onto the raceway. We have seen tracks where the wipers were never inspected after installation, and the rails underneath told the story.
What to do: Clean the rails and re-lubricate them — properly, with the grease the rail manufacturer specifies, not whatever is nearest. Inspect the wipers and replace any that are damaged. If the cell produces heavy spatter, fit rail covers or bellows; they cost far less than a set of replacement rails. And keep the floor around the track clean: most of the debris on a rail got there via a forklift tyre or a broom.
4. Lubrication runs dry — quietly
This is the most boring cause on the list and one of the most common. Automatic lubrication pumps run out. A manual greasing schedule gets missed during a busy month. Grease ages, dries out, and stops protecting the raceway long before anyone notices.
The early signs are subtle: a slight increase in drive current, a faint change in the sound of the carriage, a few hundredths of a millimetre of extra scatter. By the time the carriage is audibly rough, the damage is already done — a dry raceway wears fast, and wear cannot be greased back.
What to do: Check the lubrication pump reservoir and the lines — a blocked distributor leaves one carriage starved while the rest look fine. If greasing is manual, put it on a calendar, not on memory: once a month for a welding environment is a reasonable starting point, more often if the track runs multiple shifts. Use the grease grade the rail supplier specifies; the wrong grease can be worse than none at all, especially in a hot cell.
5. Temperature: the track grows and shrinks with the seasons
Steel expands about 12 micrometres per metre for every degree Celsius. That sounds negligible until you multiply it by a long track and a real factory temperature swing. A 10-metre track that sees a 15 °C difference between a cold winter morning and a warm summer afternoon grows by roughly 1.8 mm over its length. The robot’s taught points do not grow with it.
This is why accuracy complaints often follow the seasons, and why a cell that was commissioned in spring can start drifting by autumn. The effect is worst on long tracks, on tracks near furnaces, ovens or sun-facing walls, and on cells where the robot is taught cold in the morning and runs hot all afternoon.
Thermal growth is not damage, and it cannot be “fixed” by tightening something. It has to be managed: teach points at operating temperature, keep the cell temperature as stable as practical, and allow for expansion in the track design — fixed and floating bearing arrangements exist for exactly this reason.
What to do: If the drift correlates with time of day or season, suspect temperature before wear. Log the cell temperature alongside your repeatability checks for a few weeks; the pattern usually shows itself quickly. Re-teach critical points at normal operating temperature, not first thing on a cold Monday morning.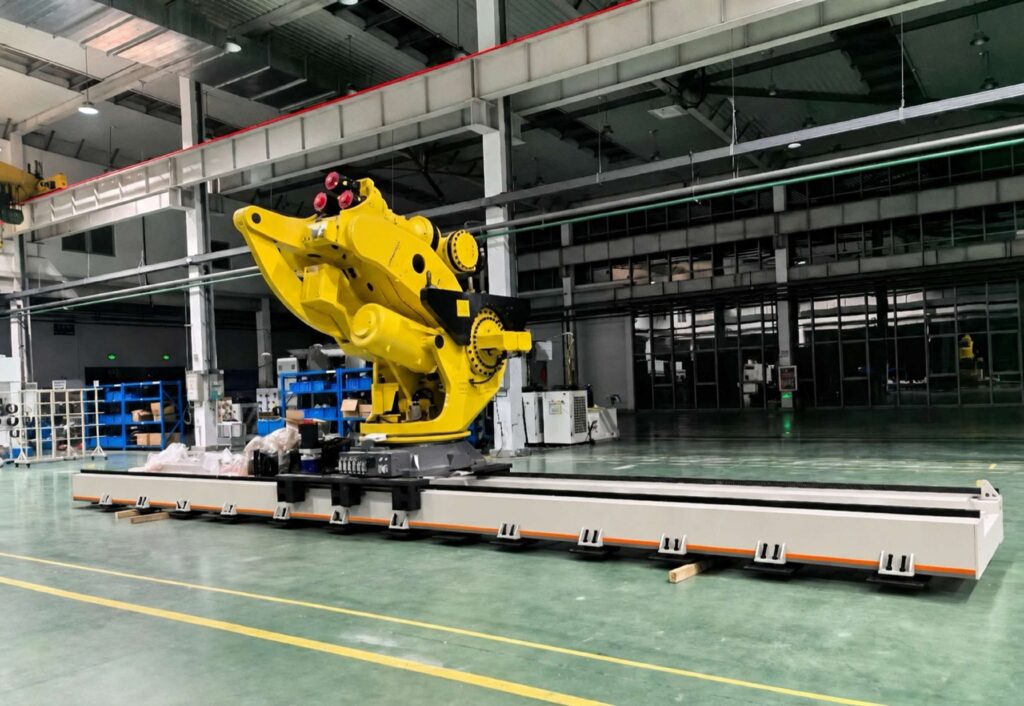
6. The payload changed — and nobody told the track
Tracks are sized for a defined payload: the robot, its mounting plate, the dress pack, and whatever rides on the carriage. That payload has a habit of growing after commissioning. A heavier torch, a bigger dress pack, a control cabinet moved onto the carriage “temporarily,” a second welding torch — each one adds mass and, more importantly, changes the moment load on the guide blocks.
The signs: accuracy is fine with the original setup but degrades as fixtures are added; the error is worse at high speed or during fast reversals; the servo drive current has crept up since commissioning. An overloaded carriage also wears its rails and blocks faster, so a payload problem eventually becomes a wear problem too.
What to do: Add up the real payload on the carriage today — robot, plate, cables, dress pack, torch cleaning station, everything — and compare it with the rated slider payload from the track specification. If it is over, or close to the limit with a high centre of gravity, the track is working outside its design envelope. The fix is either to take weight off the carriage or to move to a heavier track; no amount of re-teaching compensates for an undersized axis.
When you are sizing a new track, the questions that matter are the ones in our robot track questionnaire: travel, total length, slider payload, robot model, operating environment, required repeatability, and travel speed. Getting those numbers right at the start is what keeps the track accurate in year two, not just on day one.
7. The servo side: coupling slip, mastering drift, and tired cables
Not every accuracy problem is mechanical. The servo and feedback chain has its own ways of losing position quietly.
A motor coupling that has loosened slightly slips a fraction of a degree under load — too little to fault the drive, enough to shift every taught point by a millimetre at the end of a long track. An encoder that has taken a knock, or a battery-backed mastering that was lost during a power outage and re-mastered by eye, leaves the whole axis offset. And a drag chain that has been flexing for six months can chafe an encoder cable just enough to produce intermittent position errors that look like random drift.
The tell-tale sign of a servo-side problem is that the mechanical checks come back clean: the rails are smooth, the backlash is within limits, the level is good — but the robot still does not return to its points. Or the error appears suddenly after a maintenance event, a motor change, or a power failure.
What to do: Check coupling tightness and look for witness-mark movement. Verify mastering against a fixed reference point — a scribed mark or a dowel hole — rather than trusting the controller’s word for it. Inspect the drag chain and encoder cables for wear, and check the servo drive’s following-error and current logs for a trend over the last months. A drive that is working harder than it did at commissioning is telling you something.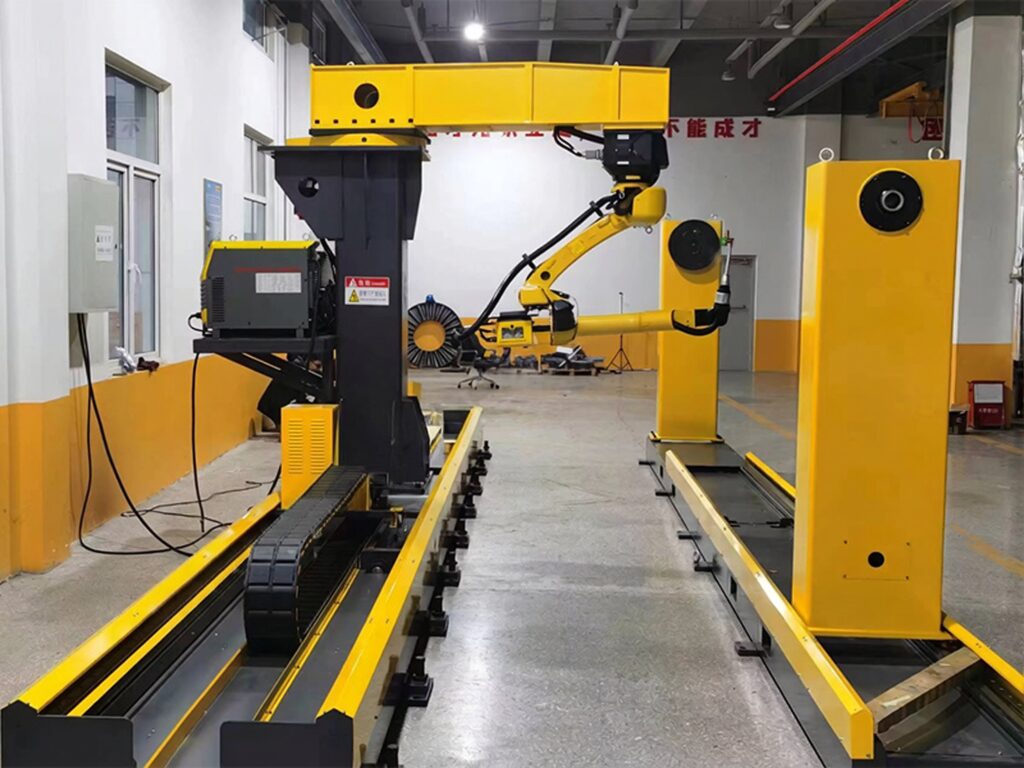
How to find out which one it is
Guessing wastes time. These four checks, done in order, separate the causes in under an hour:
- Repeatability, same direction. Drive the carriage to a fixed reference point from the same direction ten times and log the scatter with a dial indicator. If the scatter is small, the track repeats — the problem is drift, not repeatability.
- Lost motion, opposite directions. Approach the same point from both directions. The difference is your backlash. Compare it with the commissioning value.
- Level and straightness. Check the track base level at several points along the full travel. A level that has changed since installation points at the foundation.
- Temperature log. Note the cell temperature and the time of day for each measurement. If the numbers move with temperature, you have a thermal problem, not a wear problem.
Log three numbers every month — same-direction repeatability, opposite-direction lost motion, and the track level at mid-travel. A trend in any of them tells you what is wearing, and how fast, long before it becomes scrap. If accuracy returns after re-lubrication or re-levelling and holds for months, it was maintenance. If it returns within weeks, the axis is undersized or misapplied, and that is a design conversation, not a maintenance one.
What to fix first
| Symptom | Most likely cause | First action |
|---|---|---|
| Error grows gradually, worse at one end of travel | Foundation settlement | Re-level, re-torque anchors, check again in a month |
| Point shifts with approach direction | Rack and pinion backlash | Measure lost motion, adjust mesh, check lubrication |
| Rough running, scatter at certain positions | Rail contamination or worn wipers | Clean rails, replace wipers, fit covers |
| Drive current creeping up, dry raceways | Lubrication failure | Check pump and lines, re-grease to spec |
| Drift follows time of day or season | Thermal expansion | Re-teach at operating temperature, stabilise cell temperature |
| Worse at speed, after fixtures were added | Payload growth | Weigh the real carriage payload against the rating |
| Mechanical checks clean, points still off | Coupling slip or mastering drift | Check couplings, verify mastering against a fixed reference |
Six-month maintenance checklist
Use this at the six-month mark — and then every six months after that:
- Check track level at three or more points along the full travel; compare with the installation record
- Re-torque anchor bolts and rail mounting bolts to the specified values
- Measure backlash at the carriage and compare with the commissioning value
- Inspect rack teeth and pinion for wear; check pinion preload
- Clean guide rails, inspect wipers, replace any that are worn or torn
- Check the lubrication pump reservoir, lines, and distributors; re-grease to the specified grade
- Inspect the drag chain and encoder cables for chafing
- Check coupling tightness and look for witness-mark movement
- Verify mastering against a fixed reference point
- Run the repeatability test and log the three numbers: repeatability, lost motion, level
- Review the real carriage payload against the rated slider payload
- Re-teach critical points at normal operating temperature
FAQ
How much accuracy loss is normal after six months?
A well-installed track in a clean environment, properly lubricated, should hold its commissioning repeatability for years. Any measurable drift in the first six months means something is moving, wearing, or running dry — it is a signal, not a fact of life.
My track is only six months old. Can the rails really be worn already?
The rails themselves rarely wear out that fast. What wears fast is the lubrication film and the wipers. Once the film is gone and contamination gets in, wear accelerates quickly — which is why a track can go from fine to rough in a matter of weeks.
Should I re-teach the robot points, or fix the track first?
Fix the track first. Re-teaching on top of a drifting axis just moves the error into the program, and you will be re-teaching again next month. Re-teach after the mechanical cause is fixed, at normal operating temperature.
Does a longer track lose accuracy faster?
A longer track does not wear faster, but it shows thermal expansion and foundation movement more clearly — a small angular error becomes a large offset over 10 or 20 metres. Long tracks need the same checks, done more carefully, and a stable foundation matters even more.
Is this covered by warranty?
Wear from missed lubrication, contamination, or overloading is maintenance, not a manufacturing defect. Foundation settlement and installation issues depend on who did the installation and what the contract says. Either way, a monthly log of the three numbers — repeatability, lost motion, level — is the best evidence you can have in any warranty conversation.
We are planning a new cell. How do we avoid this from the start?
Get the foundation right, size the track for the real payload including everything on the carriage, specify the environment honestly (welding spatter counts), and plan lubrication and inspection into the operating routine from day one. Our robot linear track range covers standard and heavy-duty strokes, and we size every track from the same questionnaire — travel, payload, robot model, environment, accuracy, and speed — so the track you get is the track your cell actually needs. If the cell also needs a positioner, our guide to choosing the right robot positioner covers size, load, and axis selection, and our welding positioner range covers single-axis, two-axis, and three-axis models.
The bottom line
A robot track does not lose accuracy because six months have passed. It loses accuracy because something moved, wore, dried out, or was loaded beyond its design — and nobody measured it until the welds started drifting. The good news is that all seven causes in this article are cheap to catch early and expensive to ignore. A dial indicator, a precision level, and an hour a month will tell you more about your track’s health than any alarm on the controller.
If your track is already drifting and the checks above have not pinned down the cause, send us the details — robot model, track travel and length, slider payload, operating environment, and the numbers from your repeatability test. We will help you work out whether it is a maintenance fix, a re-level, or a sizing issue, and what it will take to get the cell back to its commissioning accuracy. You can reach us at info@wrsrobotics.com or through the contact form on our robot linear track page.