
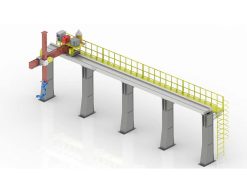
 Robot Linear track
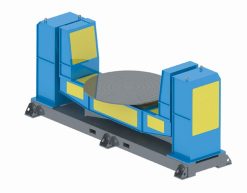 Robot welding Positioner
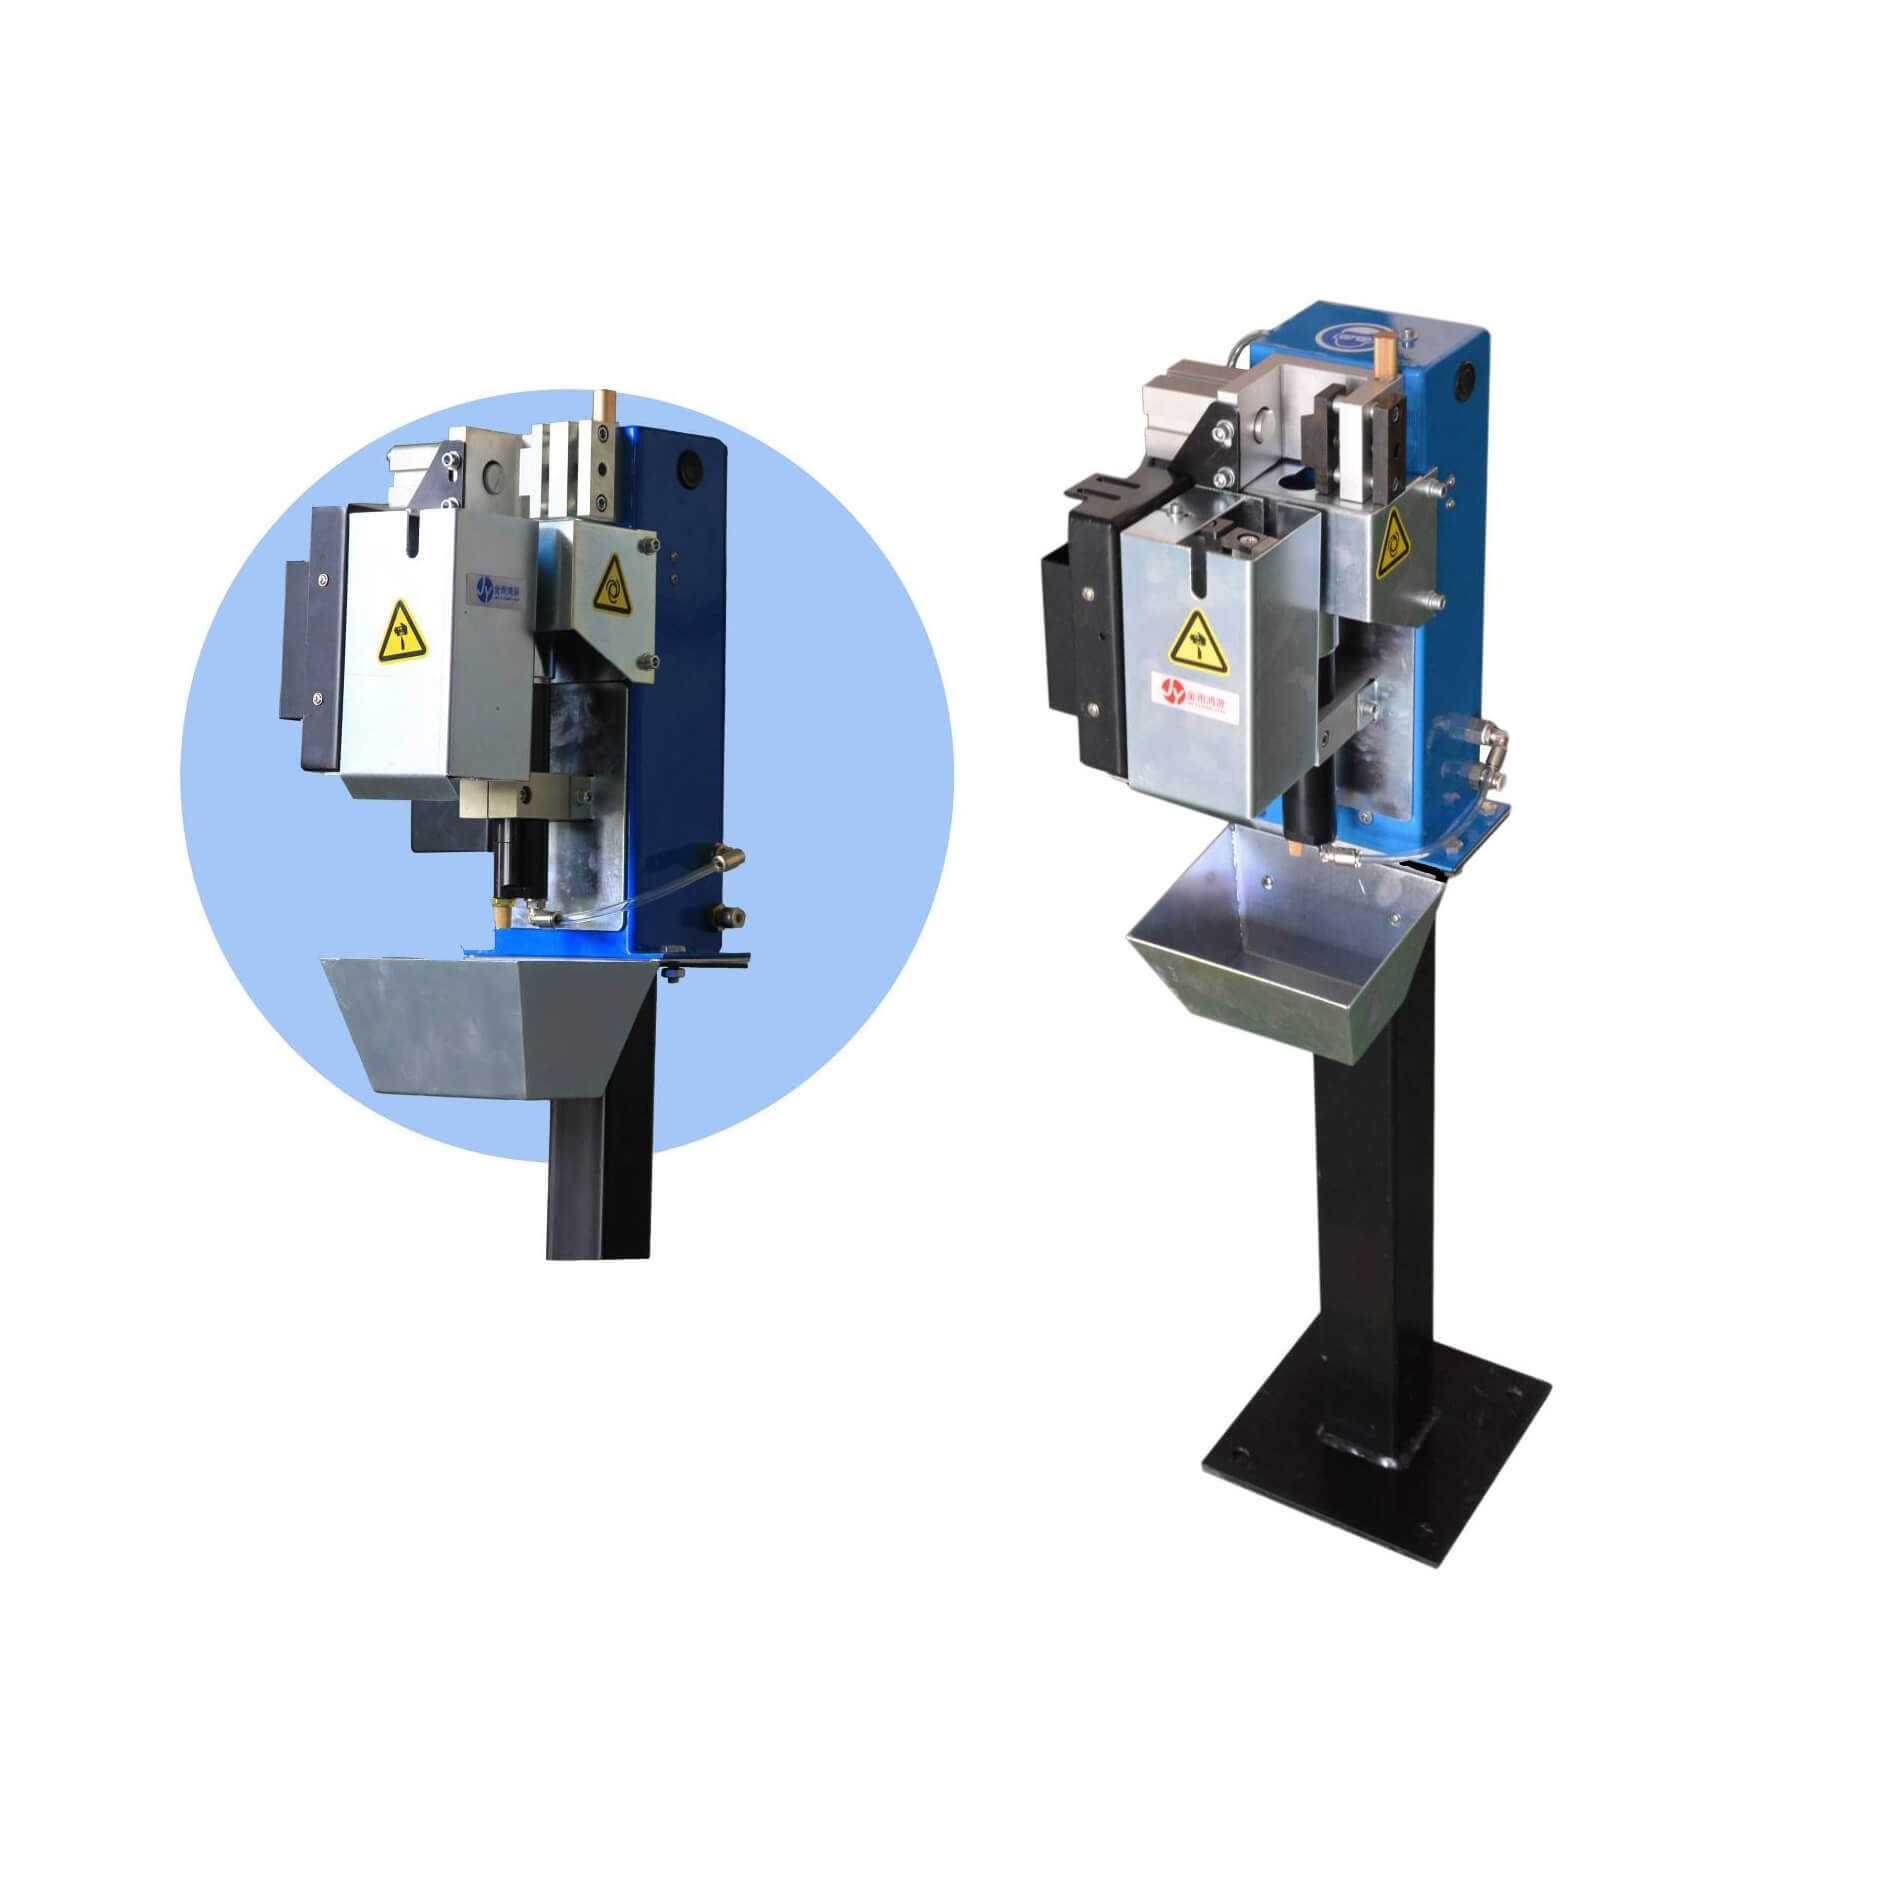 Robot Torch cleaning station
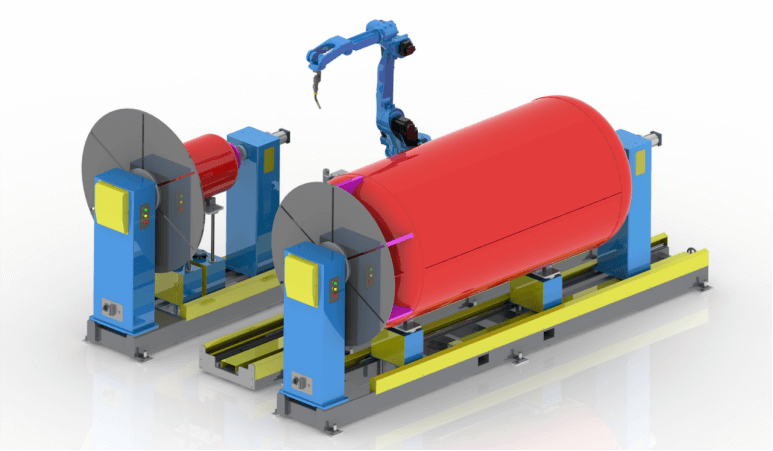 Welding Robot Workstations & Automation Solutions
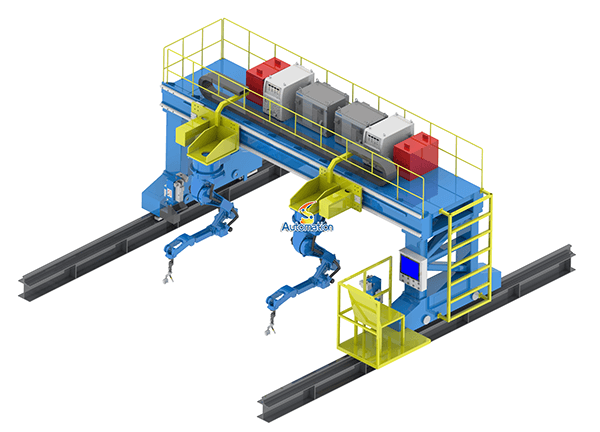 Robot Gantry System
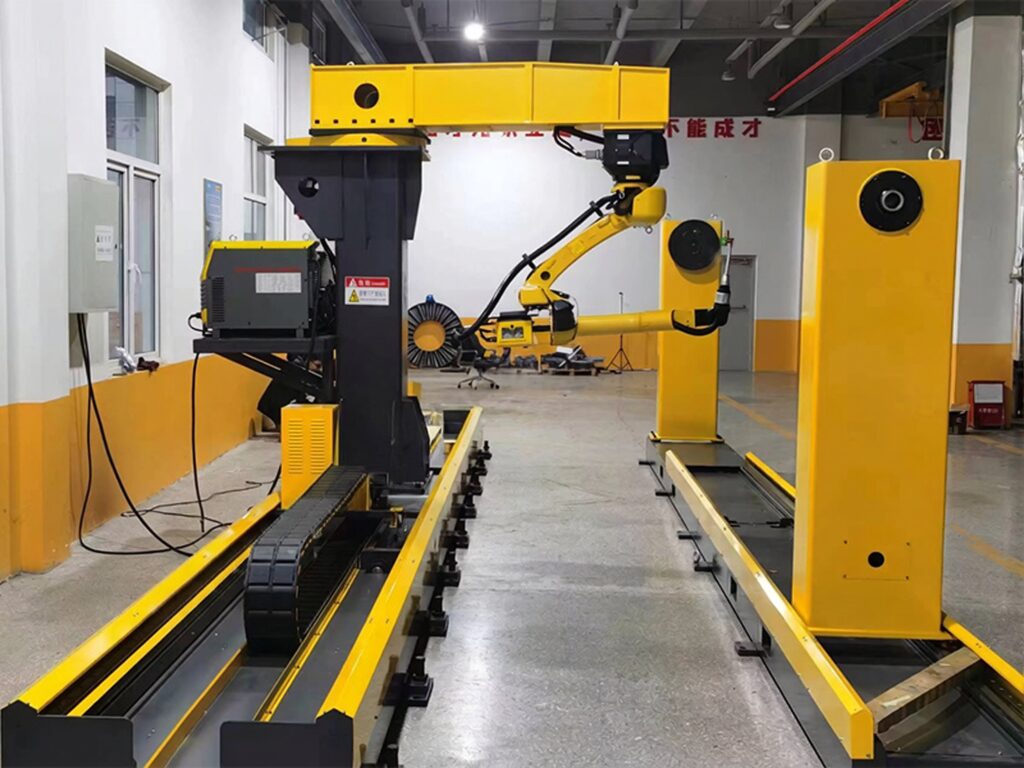
The weld was perfect on one side. On the other side, it was a mess.
A heavy fabrication shop called us about a problem that, on paper, should not have existed. They had a good robot, a good power source, and a welding procedure that had been qualified years earlier. The welds themselves looked fine — good penetration, clean profile, no porosity. The problem was what happened to the part after the welding stopped. A long structural beam came off the table with a bow in it. A frame that was supposed to be flat rocked on two corners. Every part needed straightening, and some could not be straightened at all.
The shop’s first instinct was to blame the welding parameters. They turned the current down, changed the travel speed, tried a different wire. Nothing helped much, because the welding parameters were never the main problem. The problem was the position of the workpiece while it was being welded — or rather, the fact that nobody was controlling it.
Welding distortion is not a welding defect in the usual sense. It is physics. When you heat one side of a steel plate to melting point and let it cool, that side shrinks. If the rest of the part cannot move freely, the shrinkage pulls the part out of shape. You cannot weld without heat, so you cannot eliminate distortion entirely. What you can do is control where the heat goes, in what order, and what the workpiece is allowed to do while it cools. That is mostly a positioning problem — and it is exactly the problem a robotic welding positioner is built to solve.
This article is about how. Not theory from a textbook, but the things we actually do on real cells: how the positioner keeps the weld in the flat position, how rotation changes the heat pattern, how clamping and sequencing work together, and where a positioner reaches its limits. If you are straightening parts after welding, or building straightening time into every quotation, this is worth reading.
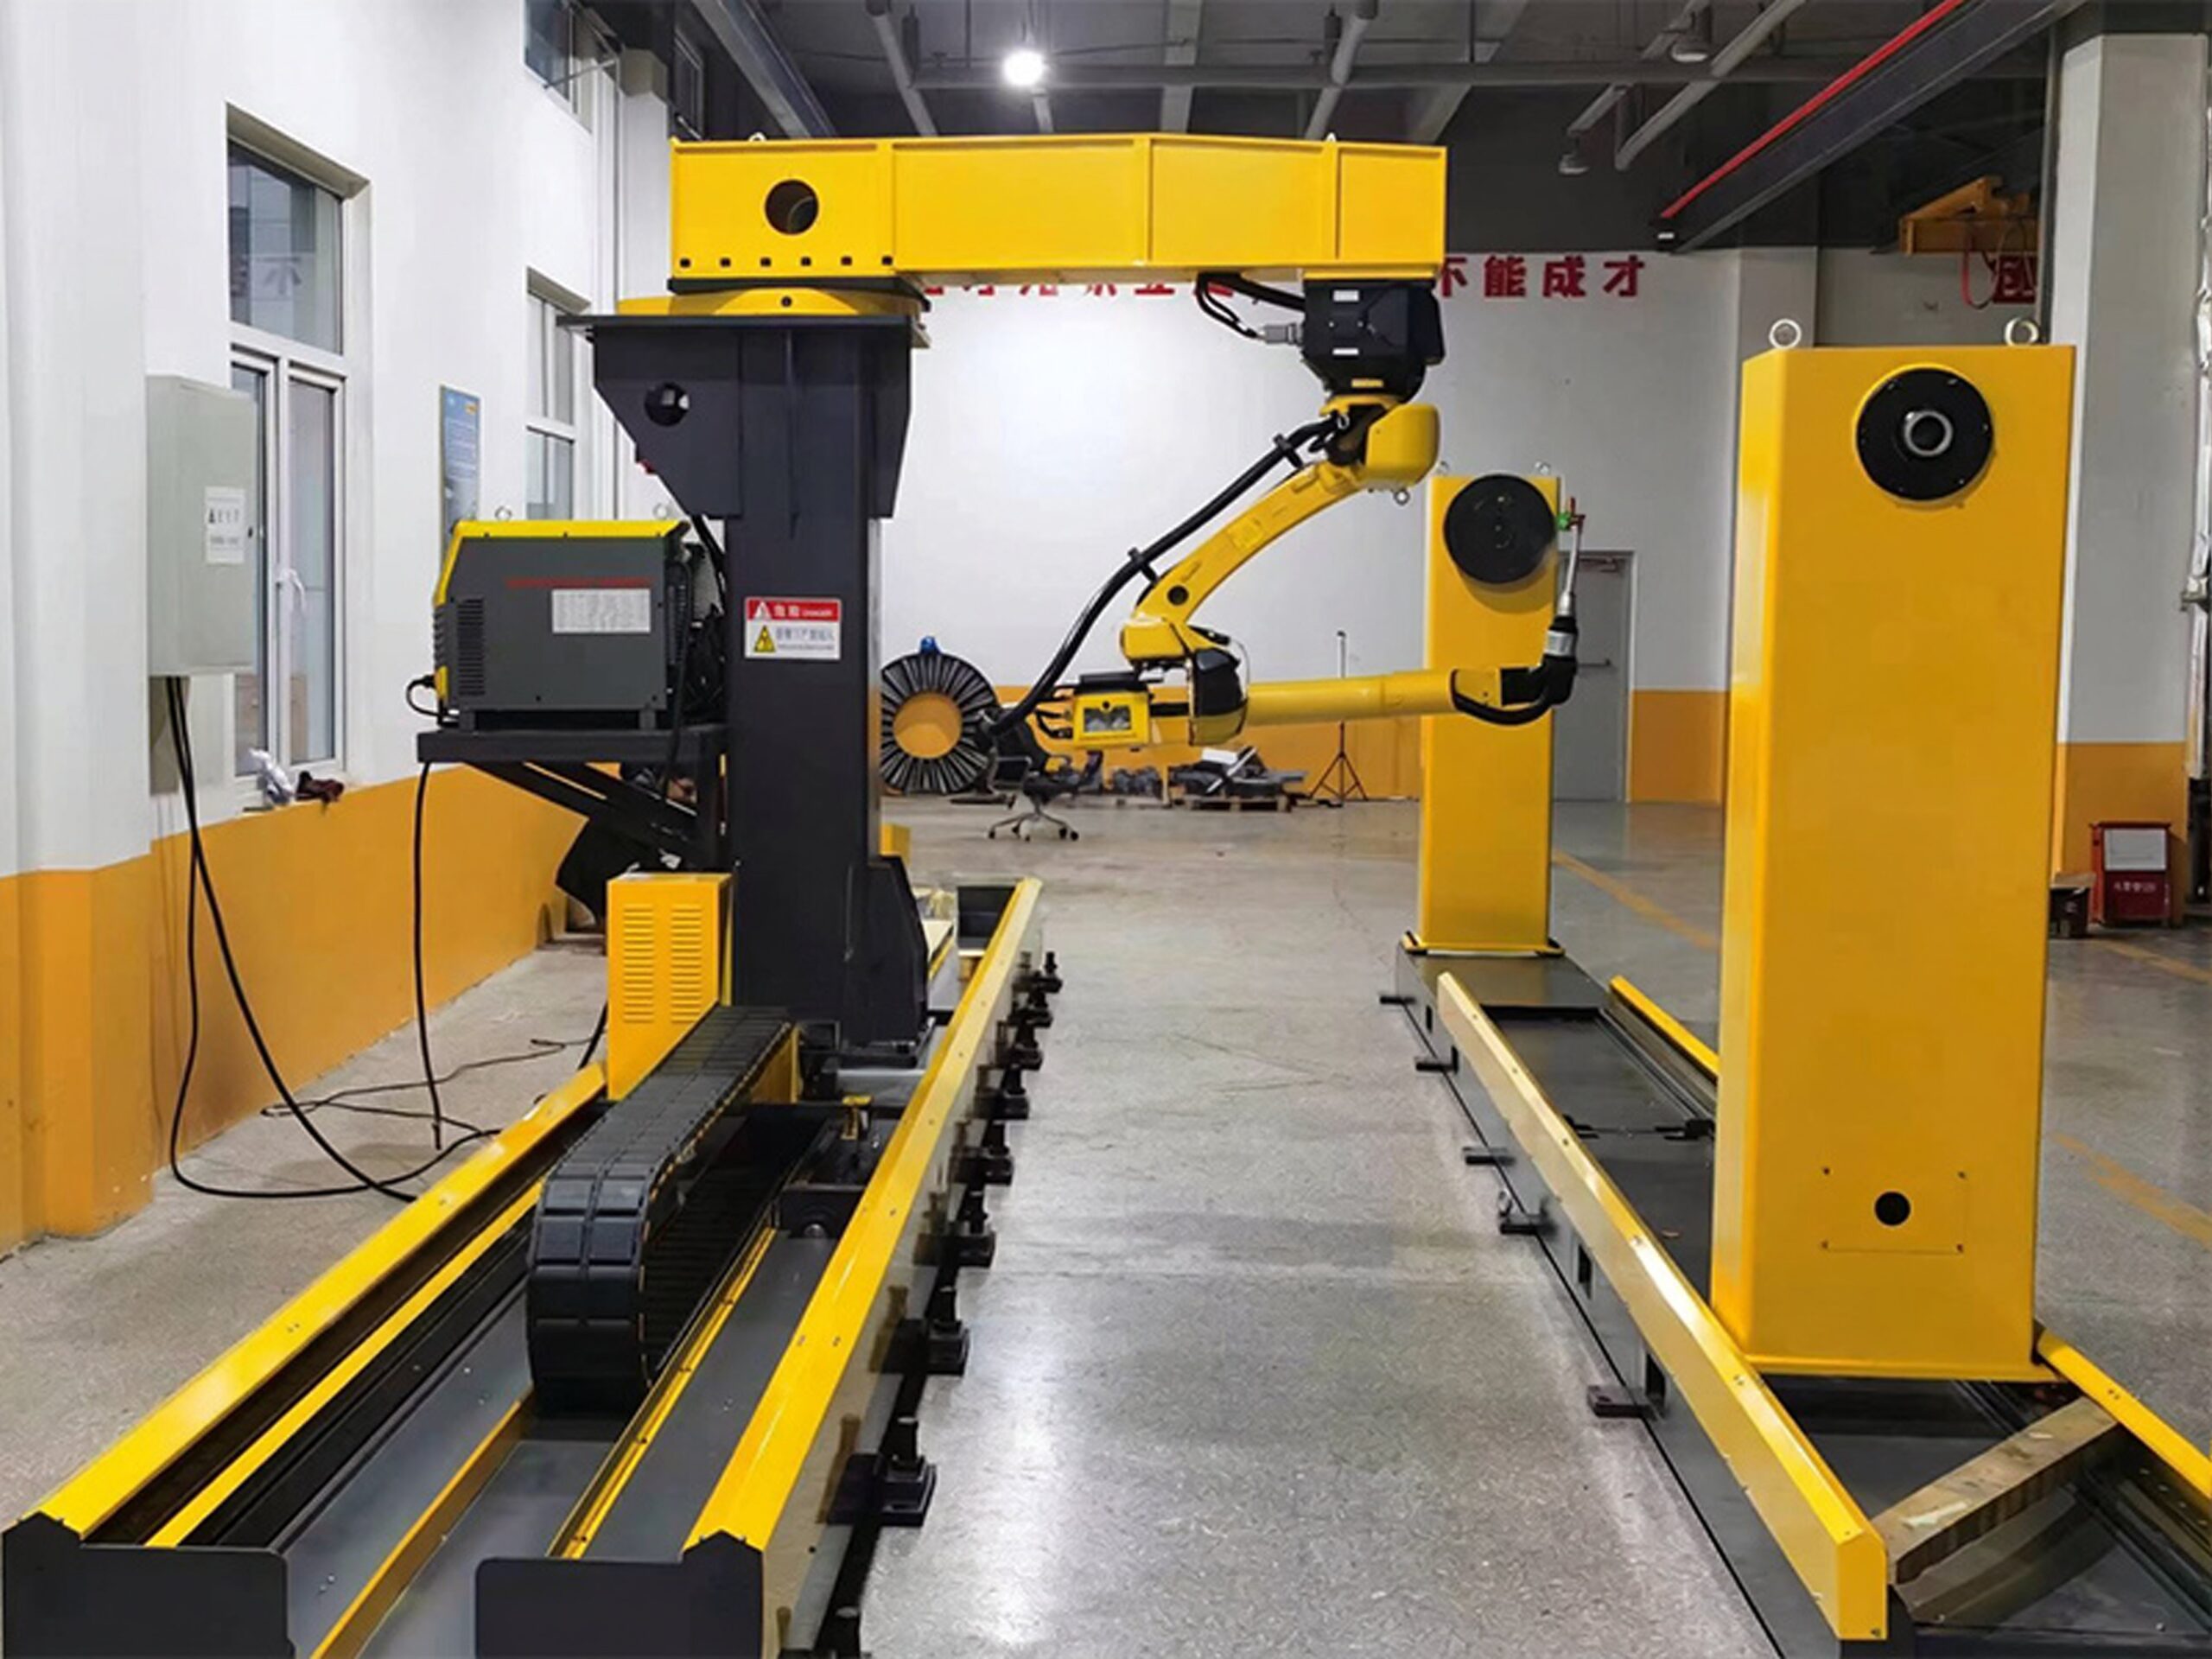
What distortion really is (in one paragraph)
Steel expands when it is heated and contracts when it cools. A weld puddle is around 1,500 °C; the metal a few centimetres away is at room temperature. The hot zone tries to expand, the cold metal around it holds it back, and the hot metal yields instead. Then the weld cools and tries to shrink — and now the cold metal holds it back again, so the shrinkage pulls the whole part toward the welded side. The result is familiar to anyone who has welded: angular distortion on fillet welds, bowing on long seams, and twist on frames welded from one side only. Thinner material distorts more. Longer welds distort more. And a part welded from one side only will almost always pull toward that side. None of this is a mystery. The question is what you do about it.
1. Weld flat, or as close to flat as you can get
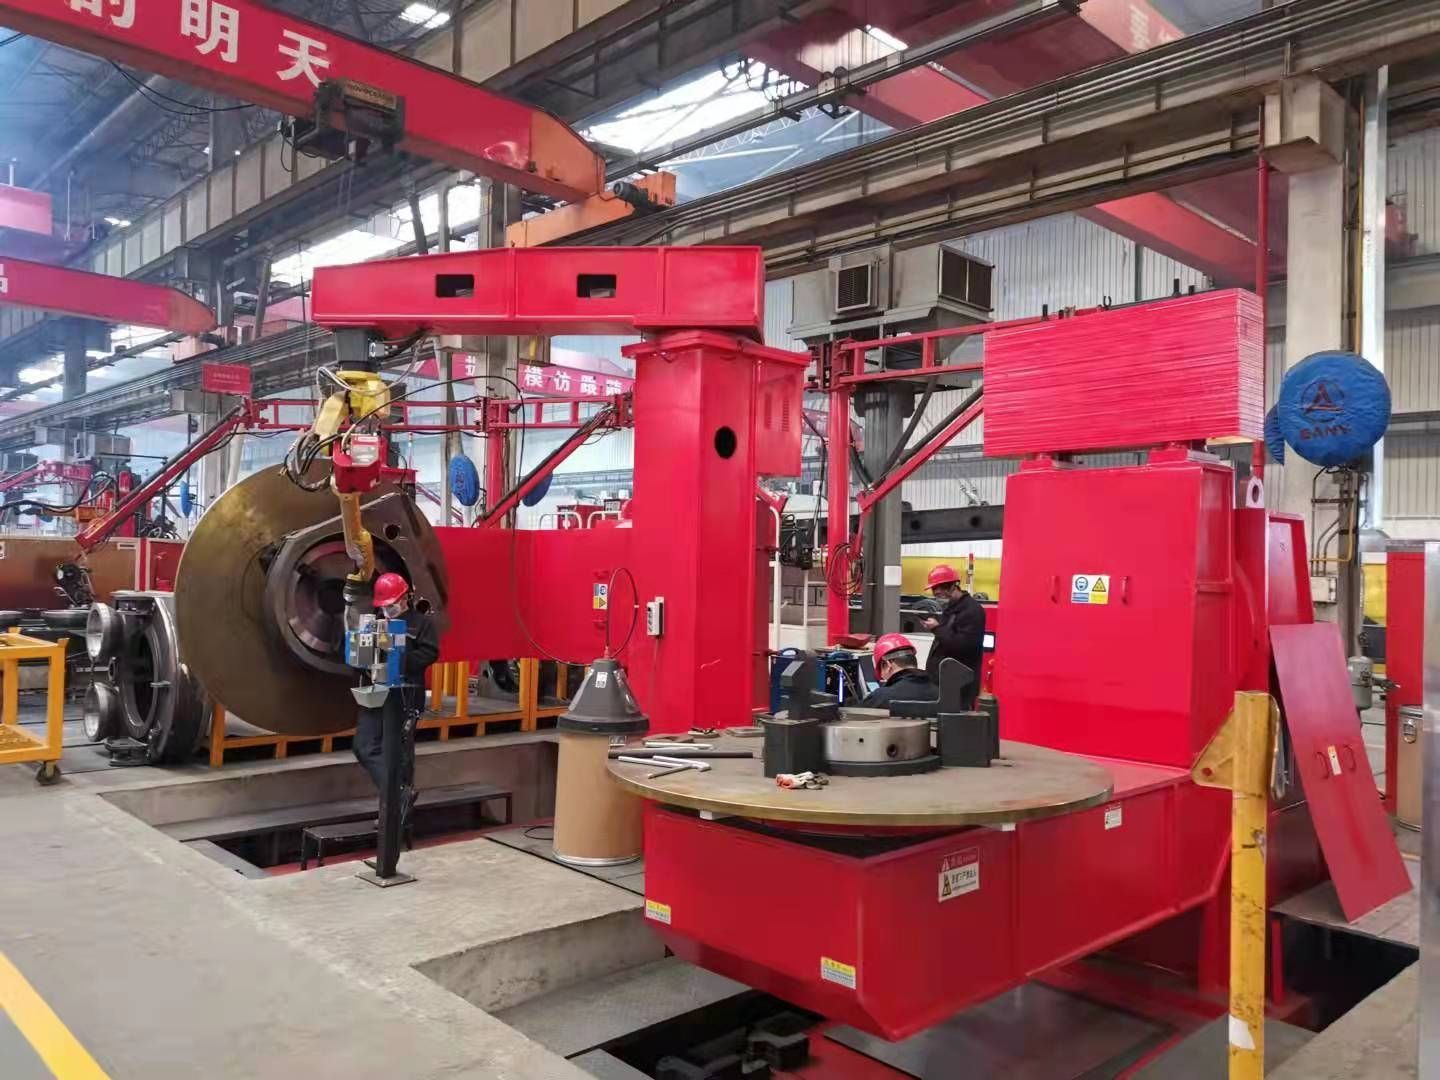
The single biggest thing a positioner does for distortion control is also the simplest: it turns the workpiece so the weld is made in the flat (downhand) position.
A flat-position weld needs less heat input than the same weld made overhead or vertical. The puddle sits where gravity wants it to sit, so you can run a hotter, faster weld with a smaller, more concentrated heat-affected zone. Less heat into the part means less expansion, less contraction, and less distortion. It also means better penetration at a given current, which matters because a weld that needs two passes where one would do puts twice the heat into the joint.
Without a positioner, the welder — or the robot — has to reach the weld where the workpiece happens to be. On a large frame or a long beam, that usually means welding some seams flat and some seams vertical or overhead, at slower speeds and higher heat input, with more passes. The distortion is not evenly distributed either: the flat seams come out straight and the overhead seams pull, and the part twists. With a positioner, the workpiece rotates to present every seam to the torch in the flat position. The heat input is consistent from seam to seam, and so is the shrinkage.
We see this most clearly on headstock-tailstock positioners for long workpieces. A beam welded on a fixed table gets welded from the top, then flipped by crane, then welded from the other side — with a full cool-down in between and a handling step that costs time and risks damage. On a headstock-tailstock positioner, the beam rotates continuously, the robot welds each seam flat, and the heat goes in symmetrically. The part still shrinks, but it shrinks evenly, and even shrinkage is something you can plan for. Uneven shrinkage is what bends things.
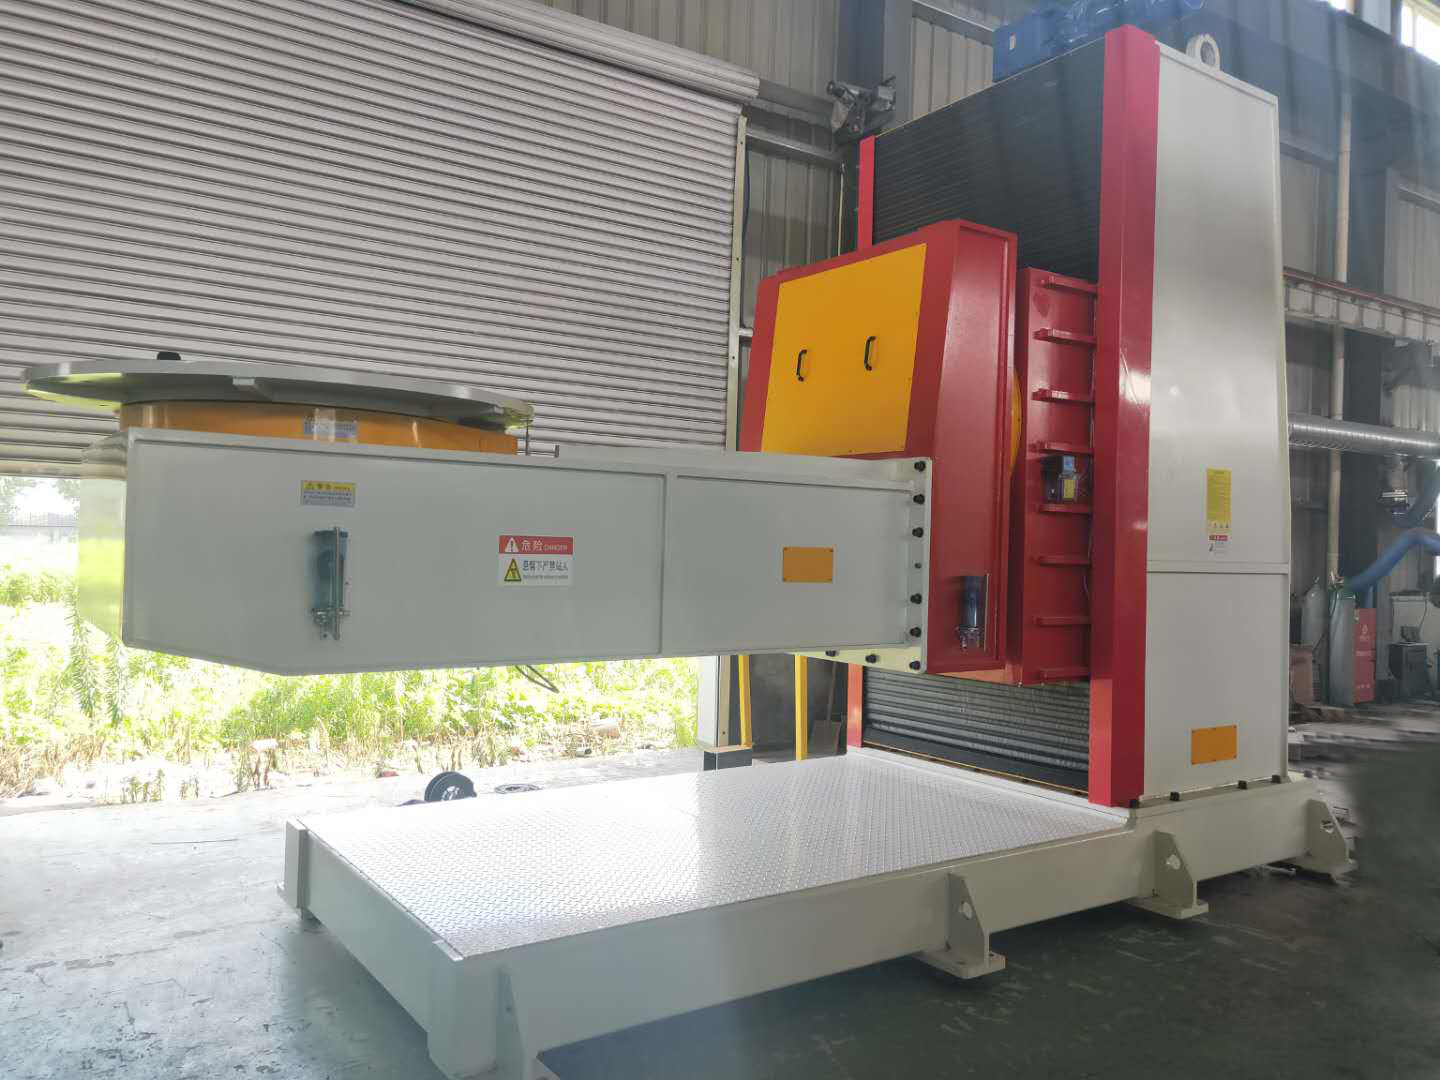
2. Rotation spreads the heat — and evens out the shrinkage
The second advantage of a positioner is less obvious, and it matters most on round or cylindrical work: continuous rotation while welding.
Take a circumferential weld on a pressure vessel section or a pipe spool. Welded in a fixed position, the torch has to travel all the way around the joint, and the heat goes in progressively — one side of the joint is already cooling while the other side is still being heated. The temperature around the circumference is never uniform, so the shrinkage is never uniform either, and the round part comes out slightly oval.
On a servo positioner synchronized with the robot as an external axis, the workpiece rotates at a constant speed while the robot holds the torch in one position. The heat input is steady, the weld is laid down in one continuous pass, and the temperature distribution around the joint is far more even. The part still shrinks — a circumferential weld always pulls the diameter in a little — but it shrinks round. We covered synchronization in detail in our previous article; the distortion point is that coordinated motion is not only about cycle time. It is also about heat control.
The same logic applies to long straight seams on a positioner that tilts and rotates. Instead of welding a long seam in one direction from one end to the other — which piles heat up at the finishing end and bows the part — the positioner can present the joint so the robot welds from the centre outward, or in balanced sections. The heat is distributed, and the part stays straighter.
3. Welding sequence: the cheapest distortion control there is
A positioner does not just move the workpiece. It lets you choose the order in which the welds are made — and sequence is the cheapest distortion control there is, because it costs nothing but planning.
The rule is simple: never let all the shrinkage pull in the same direction. Weld a seam on one side, then weld the matching seam on the opposite side before the first one has fully cooled. The second weld’s shrinkage pulls against the first, and the two partly cancel each other out. On a frame, weld diagonally opposite corners in turn rather than working your way around the frame in order. On a long beam, weld from the centre outward in alternating sections instead of running one long continuous seam from end to end.
None of this is possible if the workpiece is fixed on a table and can only be turned by crane. It is straightforward when the positioner can rotate and tilt the part between welds in seconds, under program control, without an operator touching it. The robot program and the positioner program are written together: weld, rotate, weld the opposite side, rotate back, weld the next pair. The sequence is repeatable on every part, which is the point — distortion control that depends on an operator remembering the right order works until the day someone forgets.
One practical note from our own cells: the sequence only helps if the positioner can hold the part accurately between welds. If the positioner has backlash, or the frame flexes when the part is tilted, the torch is no longer where the program thinks it is, and the welds land in slightly different places on every part. The distortion benefit disappears, and you get inconsistent welds instead. Rigidity is not a luxury on a positioner. It is what makes the sequence work.
4. Clamping and restraint: hold it, but hold it right
A positioner is also a fixture. How the workpiece is clamped to it decides how much the part is allowed to move while it cools — and that is a decision, not an accident.
There are two schools of thought, and both are right in different situations. Restraint clamping holds the part firmly so it cannot distort during welding; the residual stress stays in the part, and you accept that. The part comes off the positioner straight, but it carries internal stress, and if it is machined afterward, it can move. Free clamping lets the part move as it shrinks, so the stress stays low but the part distorts — and you correct it afterward, either with the positioner’s pre-set or with straightening.
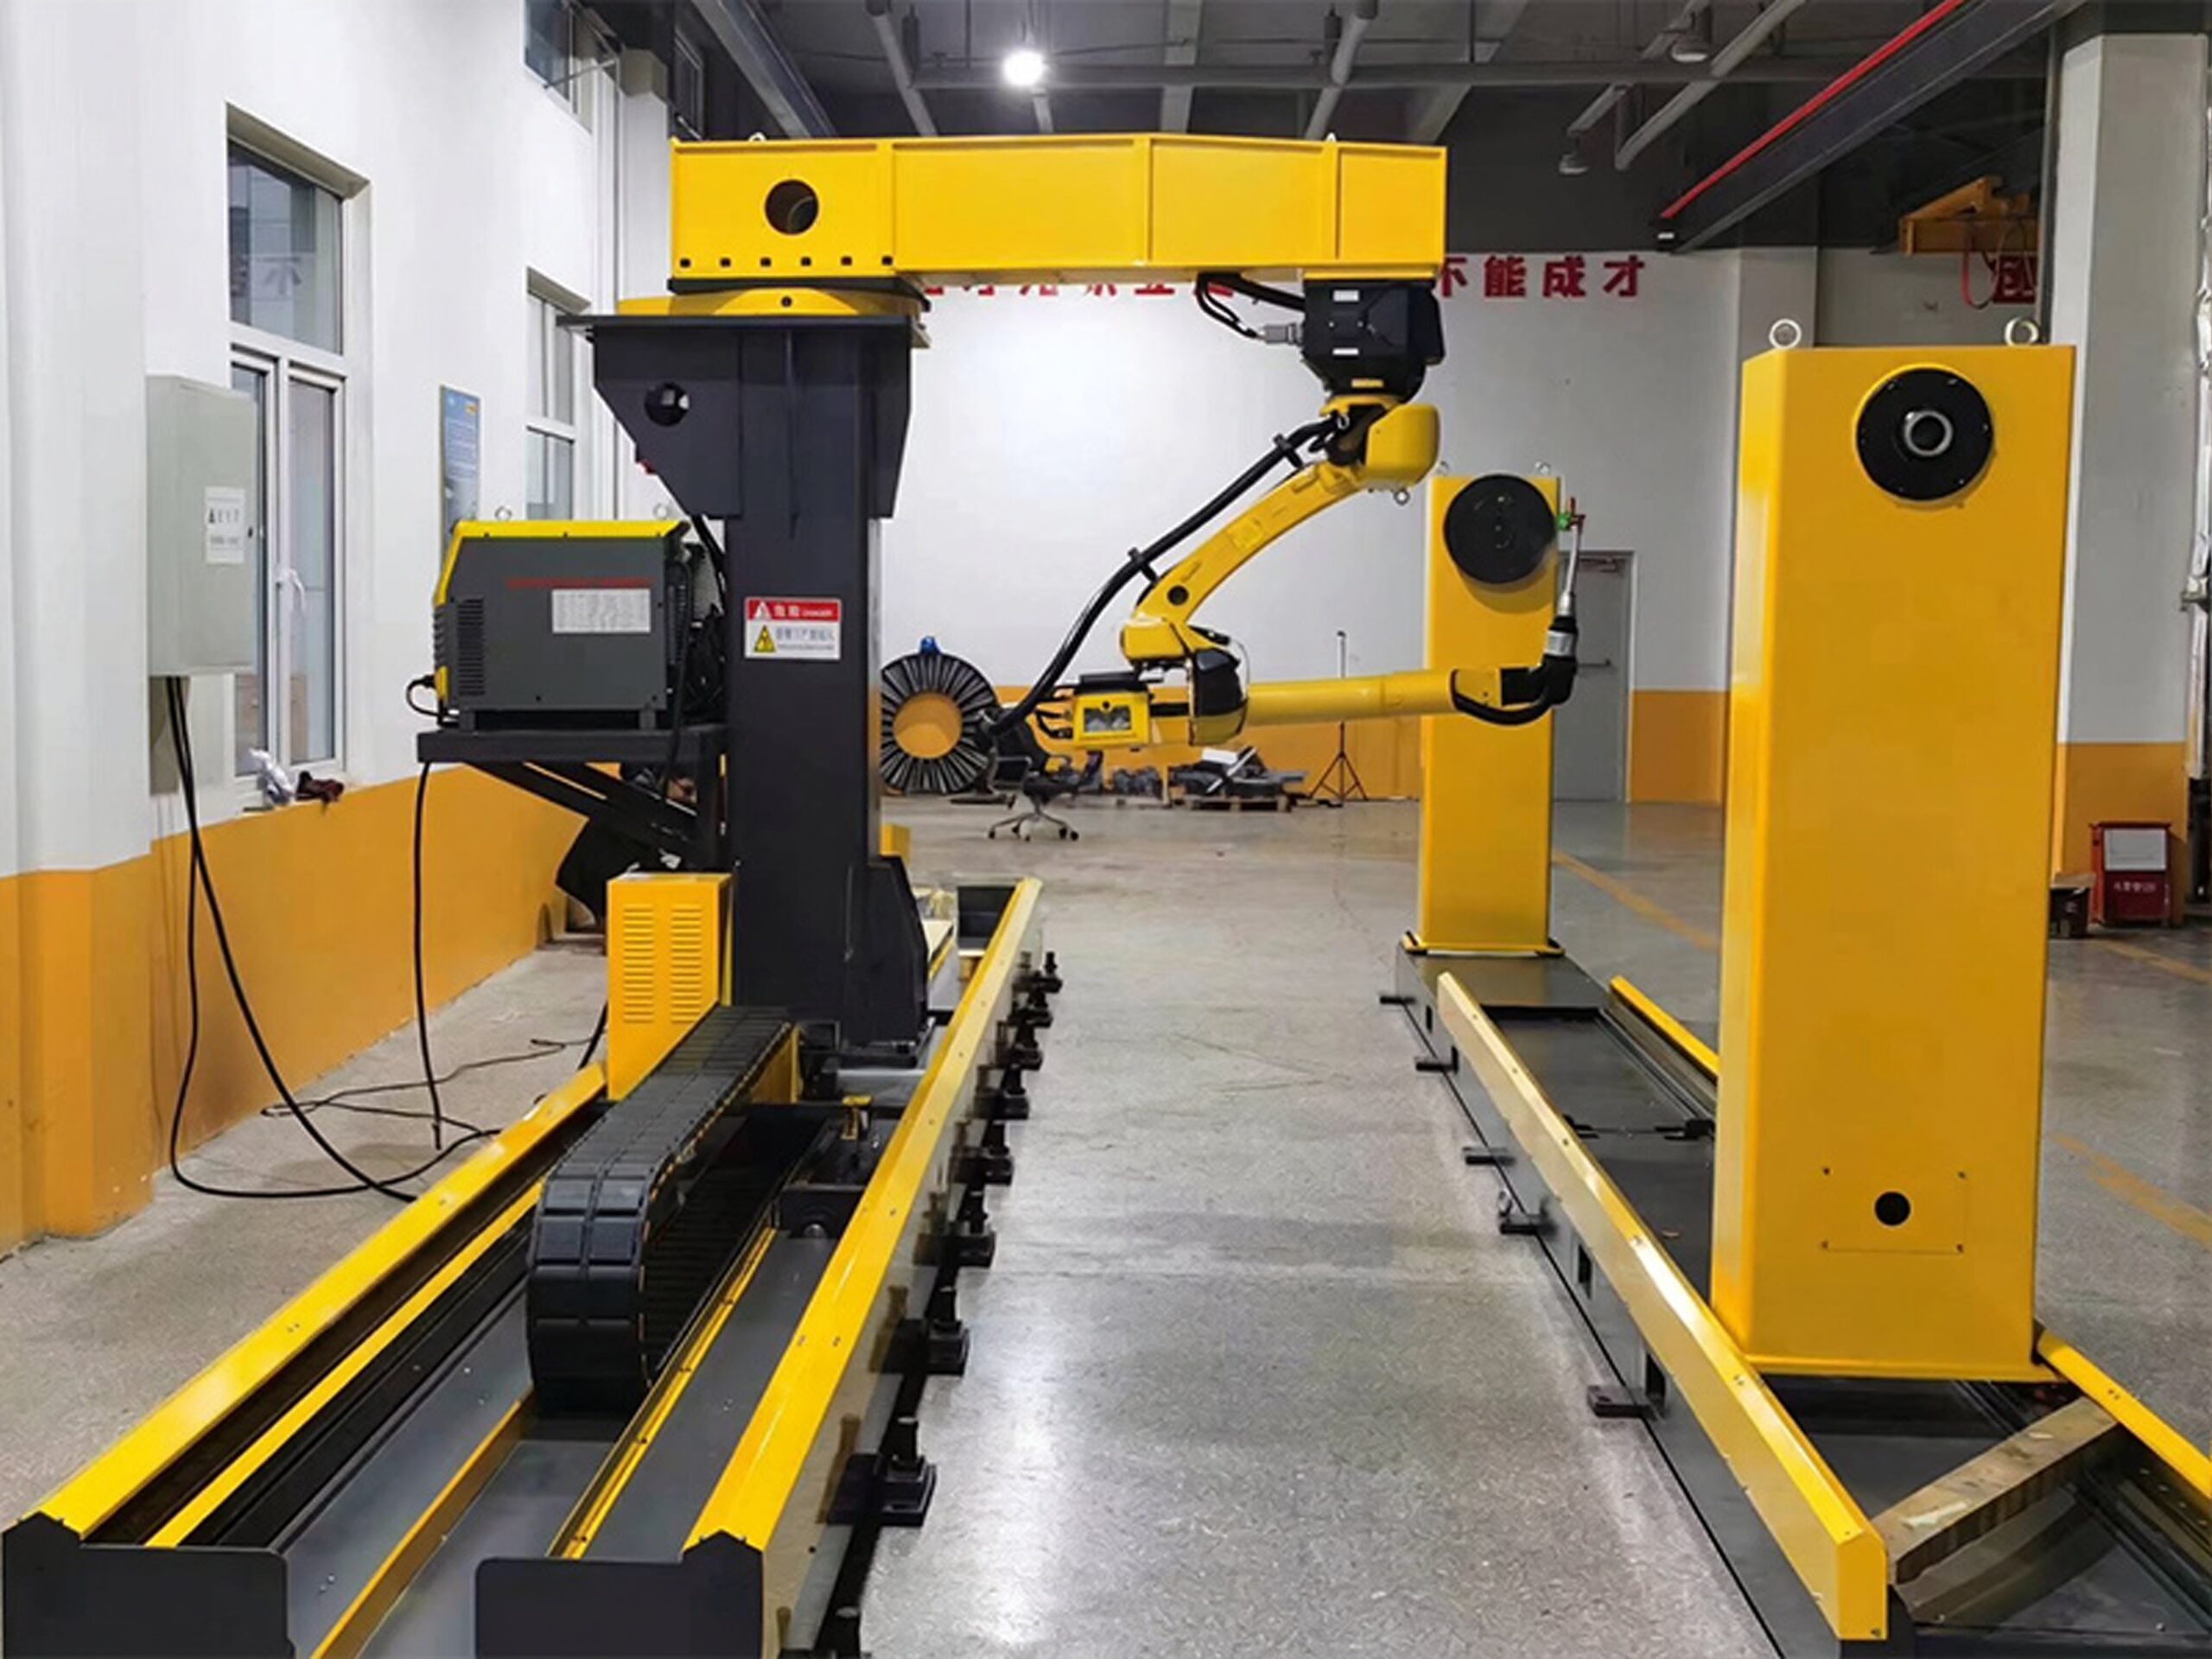
What matters is that the clamping is deliberate and consistent. The mistakes we see are usually in the middle: a part clamped hard at one end and loose at the other, so it twists; or a long workpiece supported at the headstock only, so it sags under its own weight while it is being welded, and the sag gets welded in permanently. A headstock-tailstock arrangement exists precisely for this — both ends supported, the workpiece held straight through the whole rotation, so the positioner is not fighting gravity while it is trying to control heat.
If you are quoting a positioner, tell the supplier how the workpiece will be clamped and where its centre of gravity sits, not just how heavy it is. A 2,000 kg workpiece clamped at its centre of gravity is a different machine from the same 2,000 kg hanging a metre off the rotation axis. We wrote about payload and centre of gravity in our payload calculation article; the distortion angle is the same physics. An off-centre load flexes the frame, the frame flexes the weld position, and the weld position decides where the heat goes.
5. Pre-set: bend it the other way first
Sometimes the honest answer is that a part will distort no matter what you do — and the right response is to plan for it. That is where pre-set comes in.
If a long beam always bows by a few millimetres toward the welded side, you tilt the workpiece on the positioner so that it starts out bowed the other way by the same amount. The weld pulls it straight. The same works for angular distortion on a fillet weld: set the joint at a slight angle before welding, and the shrinkage closes the angle to exactly 90 degrees.
This only works if the distortion is predictable, which means the welding has to be repeatable — same heat input, same sequence, same clamping, every part. That is precisely what a robot cell with a servo positioner gives you, and what manual welding cannot guarantee. A positioner does not eliminate the need for pre-set. It makes pre-set possible, because the distortion is the same on part one and part one hundred.
Pre-set is also where the positioner’s accuracy matters in a different way. The tilt angle that corrects the distortion might be only a degree or two. A positioner with poor repeatability cannot hold a one-degree pre-set reliably, so the correction becomes a guess. Ask the supplier for the repeatability figure, and ask how it is measured — not on the day of delivery, but after a year of service. We wrote about accuracy loss over time in an earlier article; a positioner that drifts will quietly undo your pre-set, and the parts will start coming out bent again for no apparent reason.
6. What a positioner cannot fix
A positioner is powerful, but it is not magic, and it is worth being honest about its limits — because a customer who understands the limits will get better results than one who expects the machine to solve everything.
First, joint design and fit-up. If the gap between the parts varies along the seam, the weld will vary too, and no amount of rotation will fix that. Distortion control starts with parts that fit together properly.
Second, material. Some materials simply move more. Thin stainless steel distorts far more than the same joint in thick carbon steel, and aluminium moves more still. A positioner helps with all of them, but it cannot change the coefficient of thermal expansion.
Third, weld size. An oversized weld puts in more heat than the joint needs and distorts more than a correctly sized weld. If the procedure calls for a 6 mm fillet and the cell is laying down 10 mm because the fit-up is poor, the positioner is not the problem — and it is not the solution either.
And fourth, heat input from the process itself. A positioner helps you use the heat well, but it cannot reduce the heat a given process needs. If distortion is severe, the answer may be a different process, a different sequence, or a different joint design — not a bigger positioner.
Choosing a positioner with distortion in mind
If distortion is your problem, the positioner specification should reflect it. A few points we raise with customers in this situation:
- Axis count. A single-axis positioner rotates the workpiece; a two-axis or three-axis positioner also tilts it. Pre-set and flat-position welding on complex frames usually need the tilt axis. We compared single, dual and three-axis options in earlier articles — for distortion control, the tilt axis is often the difference between a workaround and a solution.
- Rigidity over rated load. A positioner rated for the workpiece weight is not automatically rigid enough to hold it straight while it is hot and being rotated. Ask about frame deflection under load, not just the load rating.
- Synchronization. If the job needs continuous rotation while welding — circumferential seams, long spiral welds — the positioner must be an external axis of the robot controller, not a PLC-driven indexer. Coordinated motion is what keeps the heat input steady.
- Repeatability, with a number. Pre-set and balanced sequencing both depend on the positioner returning to the same angle every time. Get the figure, and the test behind it.
- Clamping interface. The positioner needs a table or faceplate that suits your fixtures, with enough T-slots or bolt patterns to clamp the workpiece where it actually needs holding — not just at the centre.
Checklist: reducing welding distortion in your robotic cell
- Every seam welded in the flat position where possible — positioner tilt used, not just rotation
- Welding sequence planned before programming: opposite sides alternated, centre-outward on long seams
- Circumferential welds made with continuous synchronized rotation, not stop-start indexing
- Workpiece supported at both ends on long parts (headstock-tailstock) — no unsupported overhang
- Clamping deliberate and consistent: same fixture, same torque, every part
- Centre of gravity close to the rotation axis — eccentric loads checked before quoting
- Pre-set angle determined from trial parts and built into the program — not guessed per part
- Heat input checked: correct weld size, no oversized fillets compensating for poor fit-up
- Positioner repeatability known, with a re-check plan after commissioning
- First-article inspection measures distortion, not just weld appearance — so the sequence can be tuned
FAQ
Can a welding positioner really reduce distortion, or does it just make welding easier?
It does both, and the two are connected. The positioner reduces distortion by controlling the things that cause it: it presents every seam in the flat position so less heat is needed, it rotates the workpiece so heat goes in evenly, it makes a balanced welding sequence repeatable, and it holds the part straight while it cools. Easier welding is the side effect. Straighter parts are the result.
How much distortion can a positioner eliminate?
It cannot eliminate distortion — no equipment can, because distortion comes from the physics of heating and cooling metal. What a good setup typically does is cut it to the point where parts pass inspection without straightening, or with only minor correction. How much depends on the material, the thickness, the joint, and the sequence. Thin stainless and aluminium will always move more than thick carbon steel. The honest way to find out is a trial part on the actual positioner, measured before and after.
Is a two-axis positioner better than a single-axis one for distortion control?
Usually, yes, because the tilt axis is what lets you weld in the flat position and apply pre-set on complex parts. A single-axis positioner rotates the workpiece around one axis, which is enough for many cylindrical parts. But if the part is a frame with welds on several faces, you need tilt as well. The right choice depends on the workpiece geometry — which is why we always ask for the drawings before recommending a model.
Does welding sequence matter more than the positioner itself?
They work together, and neither replaces the other. A good sequence on a fixed table still leaves you welding overhead and handling the part by crane between welds. A good positioner with a bad sequence still piles all the shrinkage in one direction. The best results come from a positioner that makes the right sequence easy and repeatable. If you can only fix one thing, fix the sequence — it costs nothing. Then add the positioner to make the sequence work on every part.
What is the most common distortion mistake you see in new robot cells?
Welding everything from one side because the positioner was specified without a tilt axis, or because the program was written to minimize rotation time rather than to balance the heat. The cell runs fast, the parts come out bent, and the fix is a program rewrite and a fixture change — both of which should have been decided before the cell was built. Plan the sequence when you plan the cell, not after commissioning.
Can distortion be corrected after welding?
Yes — flame straightening, press straightening, and post-weld heat treatment all work, but they are all rework. They cost time, they cost labour, and on some parts they risk damaging the weld or the material. The cheapest straightening is the one you do not need. That is the whole argument for controlling distortion during welding rather than fixing it afterward.
Should I use pre-set on every part?
Only where the distortion is consistent and predictable. On a production run of identical parts, pre-set is one of the most effective tools available. On one-off or small-batch work, the time spent finding the right pre-set angle may be more than the time spent straightening the part. A servo positioner makes pre-set practical; it does not make it free. Trial parts are how you decide.
What information should I send a supplier if distortion is my main problem?
The workpiece drawings, the material and thickness, the welds that are distorting and by how much, the current sequence, and photos of the distorted parts if you have them. A supplier that asks for those things is trying to solve the problem. A supplier that quotes from a weight figure alone is guessing.
Straighter parts start before the arc is struck
Welding distortion feels like a welding problem, and so people try to solve it at the welding torch — different parameters, different wire, a slower travel speed. Sometimes that helps a little. But the heat that distorts the part is the same heat that makes the weld, and you cannot weld without it. The variables you can actually control are the position of the workpiece, the order of the welds, and what the part is allowed to do while it cools. Those are positioning decisions, and a robotic welding positioner is the tool that makes them repeatable.
If straightening time is built into your production schedule, or if parts are being scrapped because they will not fit after welding, it is worth looking at the cell rather than the welding procedure. Send us the workpiece drawings, the welds that are moving, and the sequence you are using now, and we will tell you what the positioner should be doing differently. The assessment costs nothing. The straightening is already costing you.
By WRS Robotics Engineering Team