 Robot Linear track
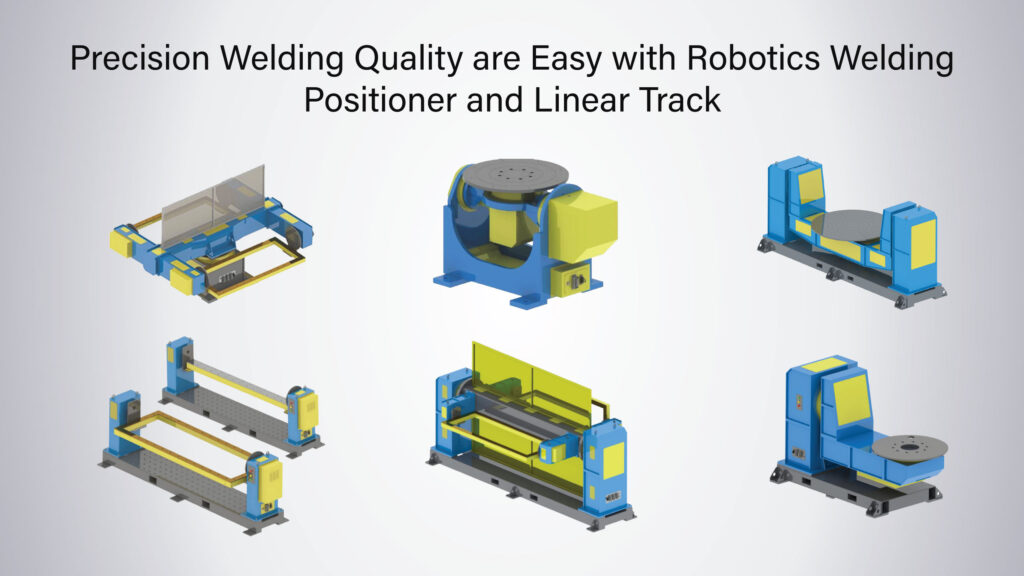
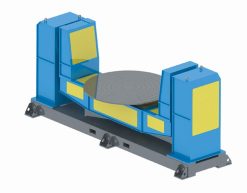 Robot welding Positioner
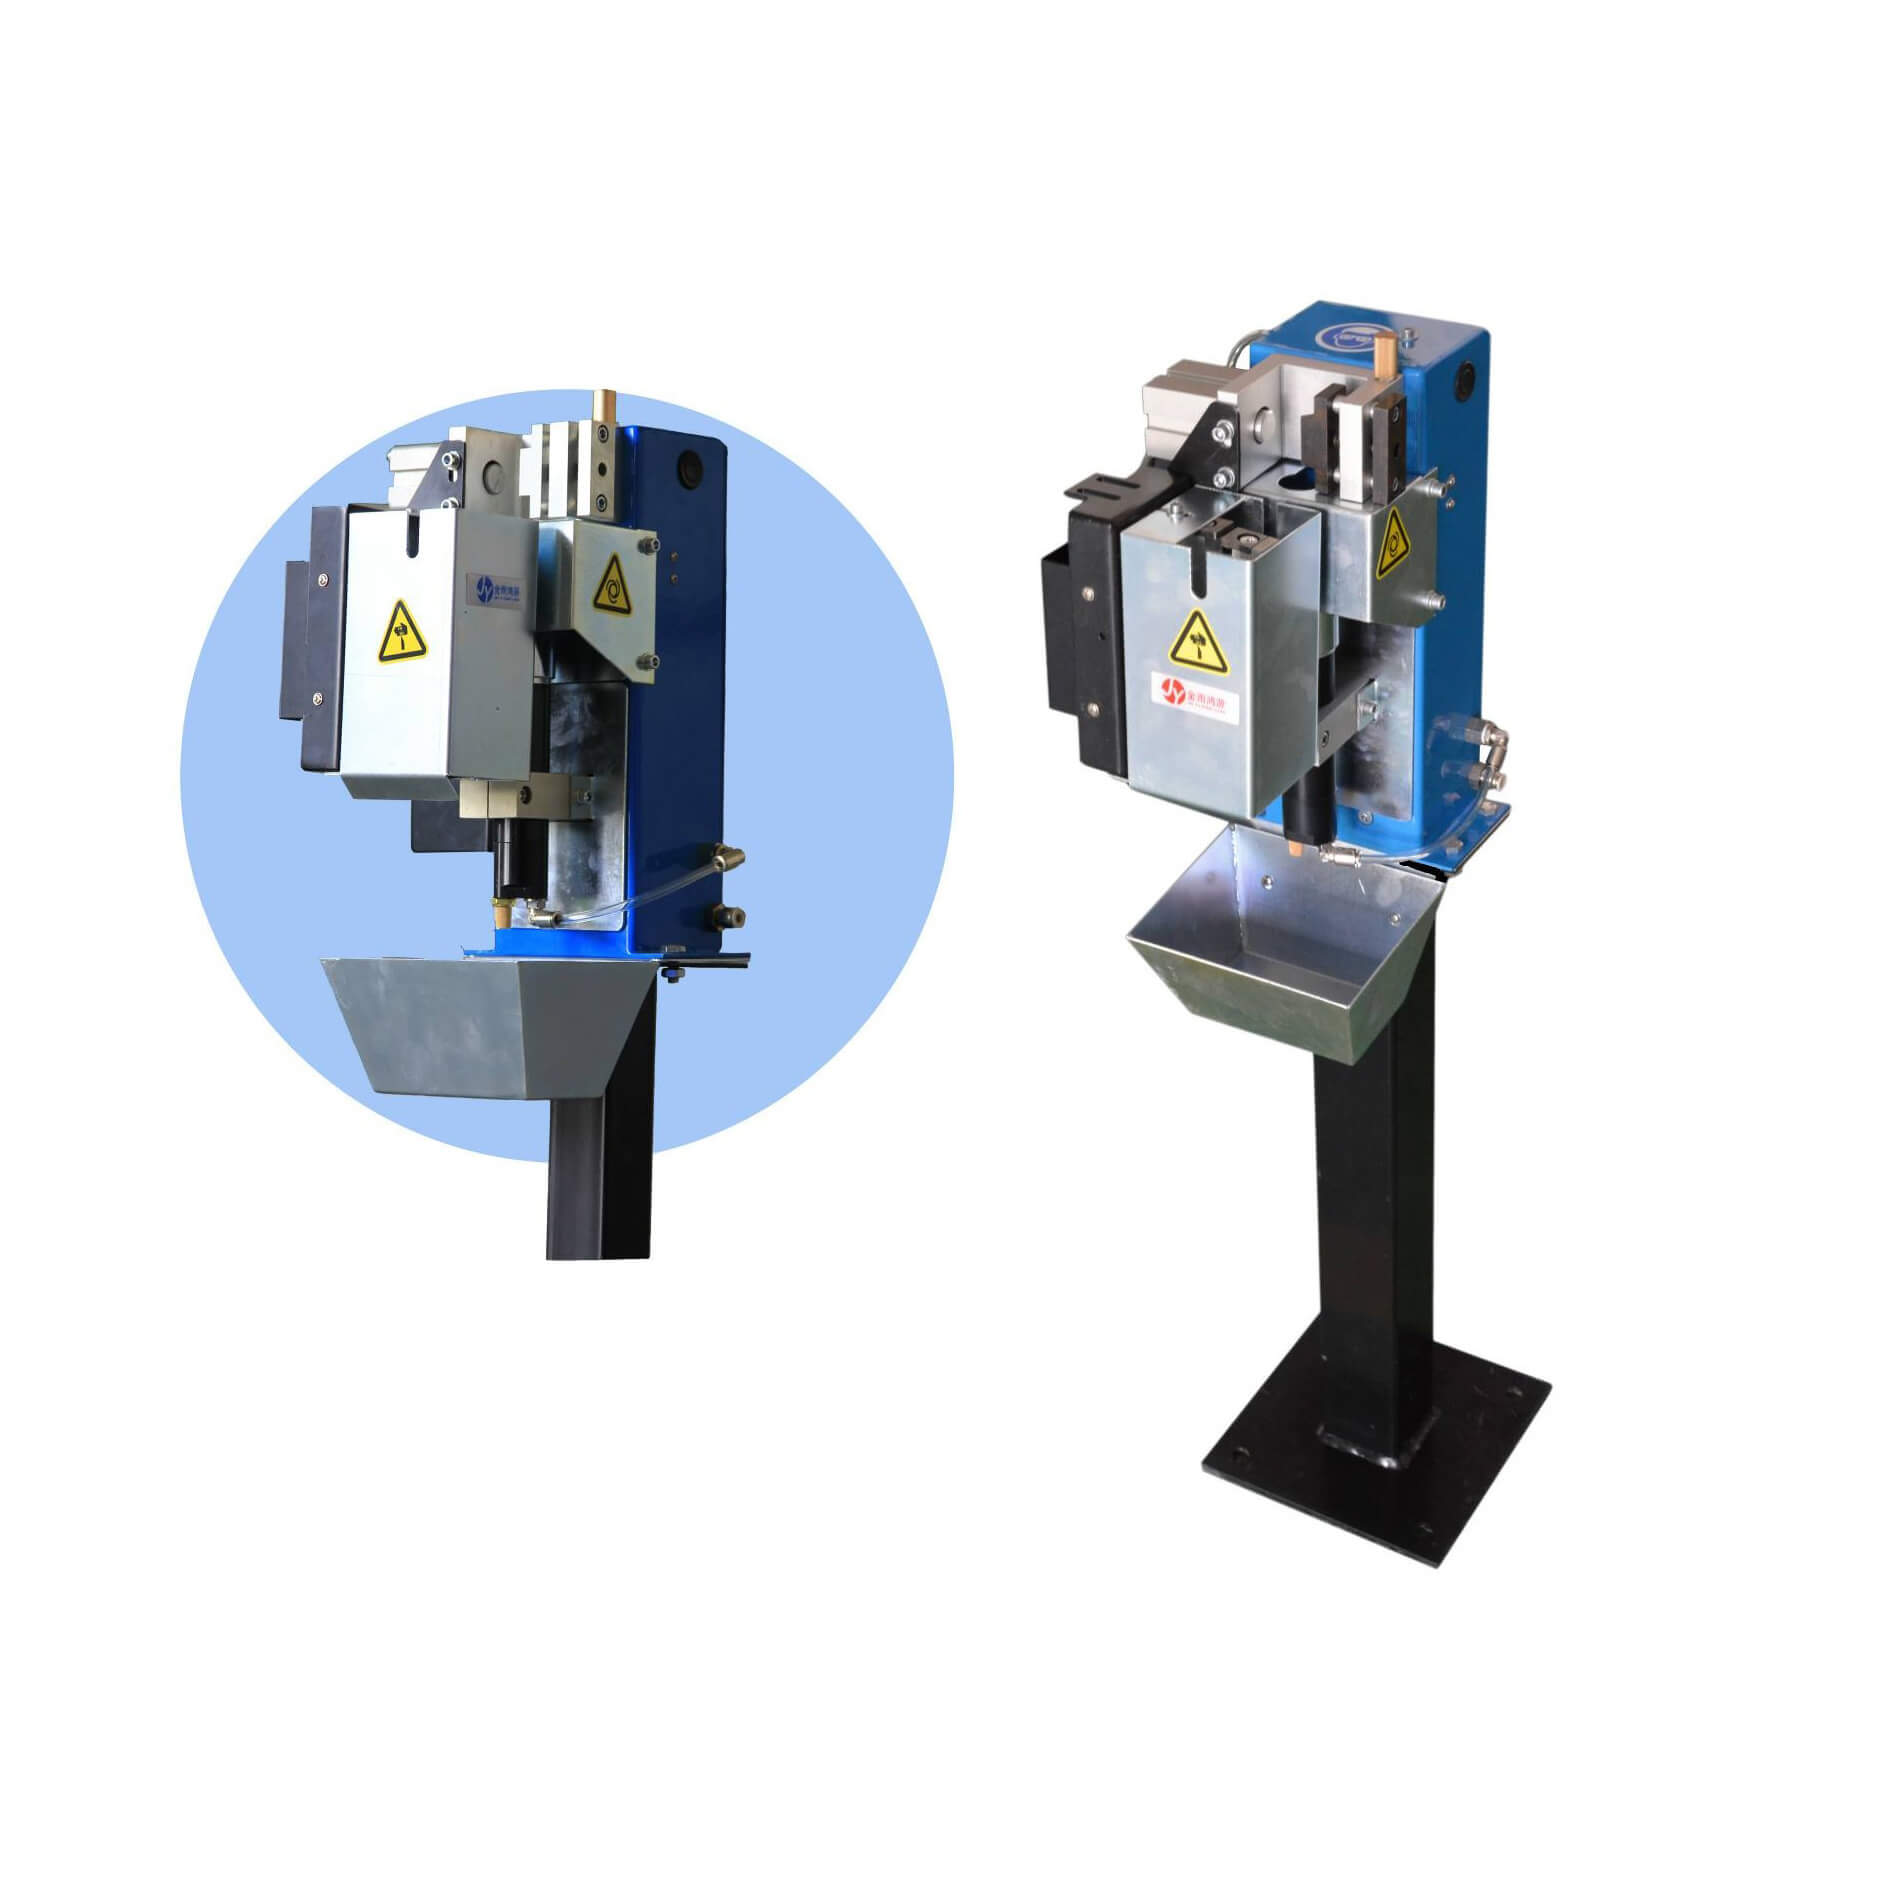 Robot Torch cleaning station
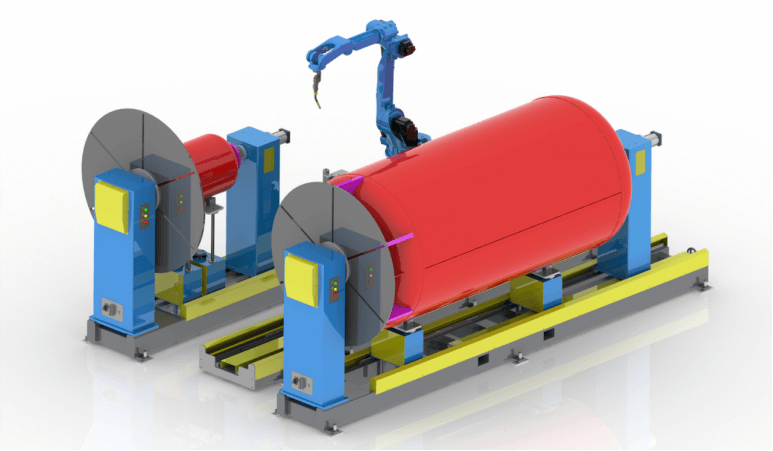 Welding Robot Workstations & Automation Solutions
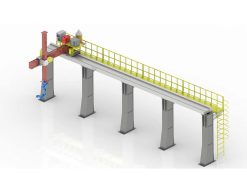
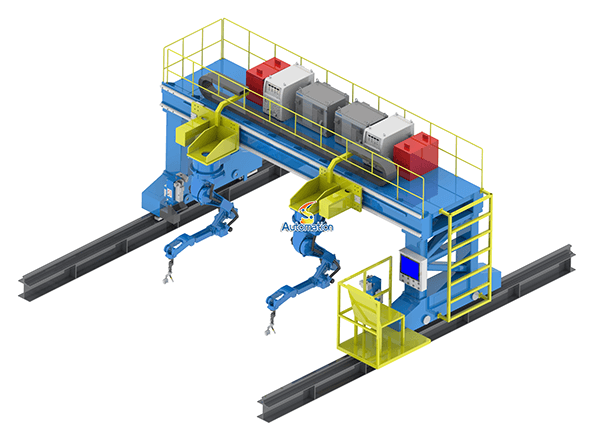 Robot Gantry System
The Real-World Guide to Picking a Welding Positioner
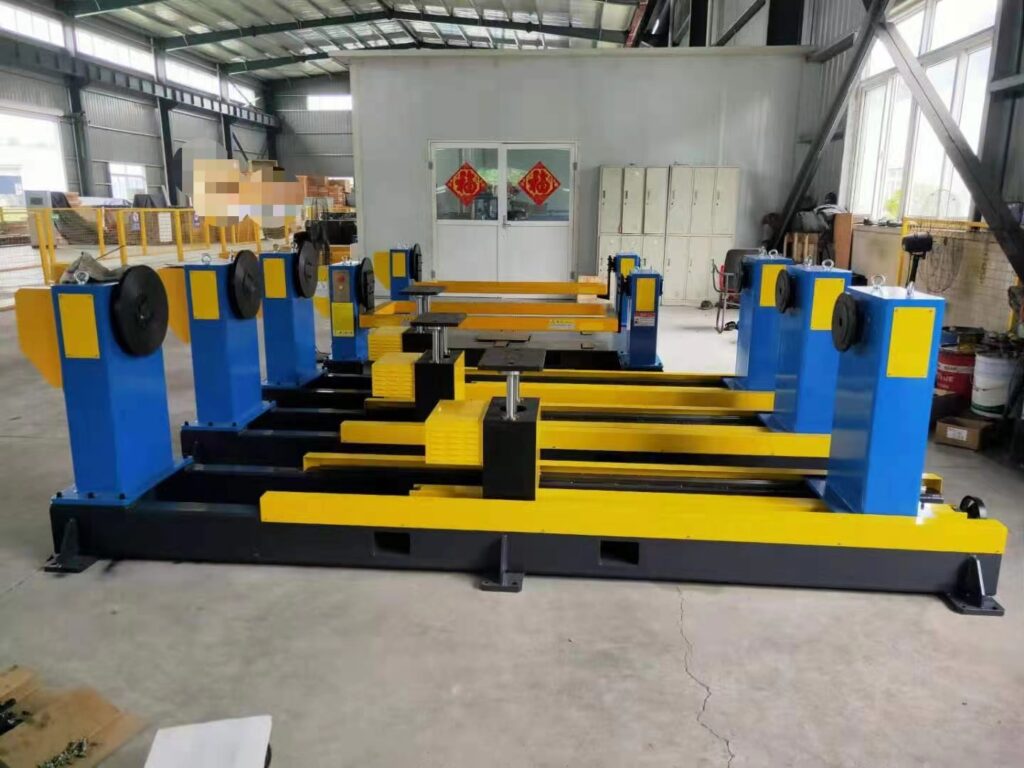
In any serious welding or assembly setup, a positioner is the equipment that does the heavy lifting—literally. Its job is simple but vital: get the workpiece into the perfect angle so the welder or robot can work in the downhand position. When you get this right, you see an immediate jump in weld quality and a massive drop in rework caused by distortion.
The problem? Most buyers treat positioners like a piece of furniture. They look at the “weight capacity” on a spec sheet and think they’re covered. But that’s exactly how people end up with a machine that stalls or vibrates when the workpiece is off-center. Choosing the wrong gear usually leads to two things: a safety hazard or a very expensive “white elephant” sitting in the corner of the shop.
We’ve stripped away the marketing jargon to explain the core logic of positioner selection. If you’re a beginner, this guide will stop you from making the “rookie mistakes” that even seasoned procurement managers often fall for.
First, Nail Down Your Baseline
Before you start digging into spec sheets, you need to answer a few basic questions. If you get these wrong now, the rest of the parameters won’t matter because the machine won’t fit your workflow.
1. What exactly are you putting on it? You need the total weight of the workpiece plus your fixtures. There’s a huge difference between a 100kg part and a 10-ton assembly—this is your “floor” for load capacity. But don’t just look at weight; look at the shape. Is it a standard pipe (cylindrical), a box, or something completely irregular? The shape dictates whether a standard flat table works or if you need custom clamping.
2. How do you need to move? Think about your seams. Are you doing simple circumferential welds (spinning a pipe) or complex, multi-angle joints that require tilting? This tells you how many “degrees of freedom” (rotation axes) you actually need. Don’t pay for a 2-axis tilting positioner if a simple floor turntable gets the job done.
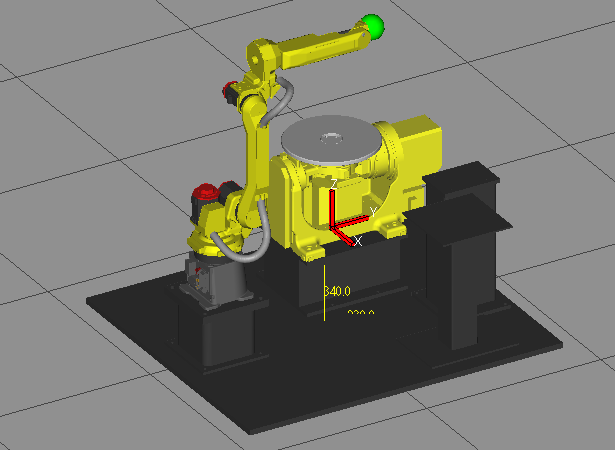
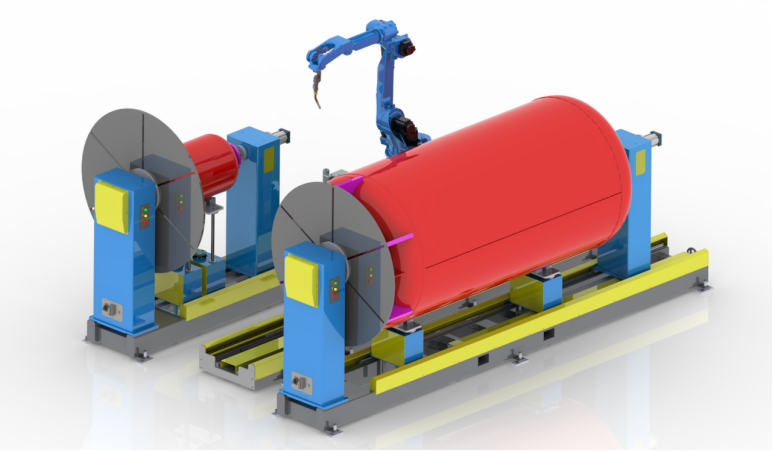
3. Manual vs. Automated? This is a big one. For manual welding, you want something intuitive and easy to adjust on the fly. But for robotic integration, precision is everything. You need a positioner that can sync with the robot’s controller and maintain high repeatability—otherwise, your automation project will fail before it starts.
4. Where is it sitting? Check your shop floor conditions. Is it a clean room or a heavy-grinding bay full of dust and oil? If it’s the latter, don’t skimp on the protection rating. You’ll want IP54 or IP65 sealing to keep the grit out of the gears and motors, or you’ll be replacing them in six months.
5 Key Parameters: The “Make or Break” List
Once you know what you’re welding, you need to look at the spec sheet. But don’t just read the numbers—read between the lines. Here are the five things you cannot afford to get wrong.
1. Load Capacity: Don’t Redline Your Machine
A “1-ton” rating doesn’t mean you should bolt a 1-ton part onto it every day. Always aim for a 20% to 50% safety buffer.
The Reality: If your workpiece + fixture weighs 800kg, buy a 1200kg unit.
Why? Off-center loads (eccentricity) put massive stress on the motor and gears. Running a machine at its limit 24/7 is a fast track to motor burnout and jerky rotation. Plus, a bigger machine gives you room to grow when your parts get larger next year.
2. Degrees of Freedom: Don’t Over-Engineer
Don’t pay for axes you won’t use.
Single-Axis: Perfect for pipes or tanks. If you’re just spinning a cylinder, keep it simple.
Dual-Axis (Tilt & Turn): This is the “sweet spot.” It handles about 80% of jobs, from boxes to frames, by getting you into that sweet downhand position.
Multi-Axis/Elevation: Only go here if you’re doing high-end robotic work or need to lift the part for welder ergonomics. For most shops, a solid 2-axis machine is the best bang for your buck.
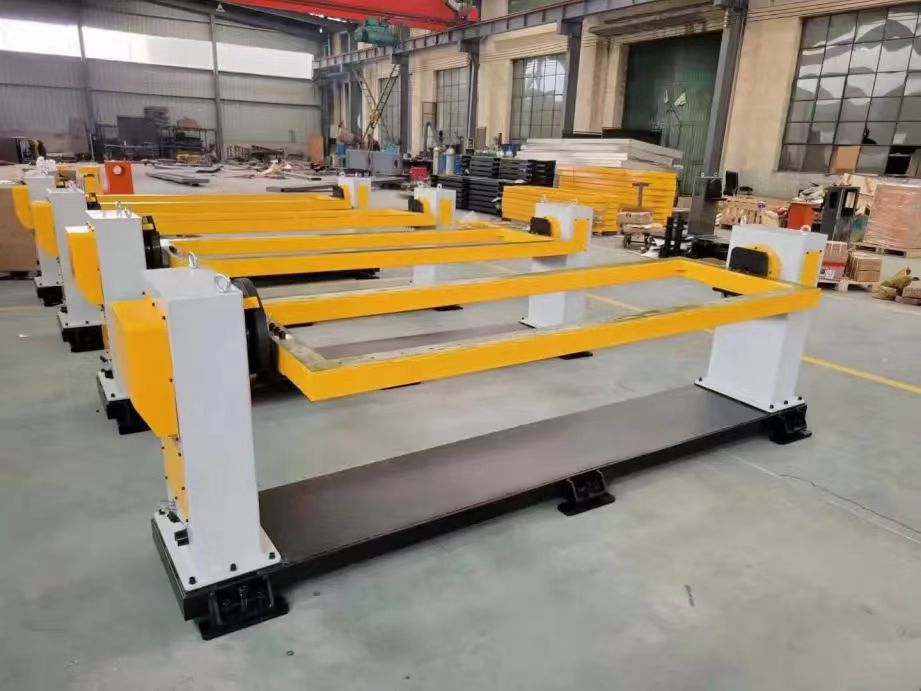
3. The Workbench: Give Yourself Some Breathing Room
The table isn’t just a surface; it’s your mounting foundation.
Size: Make sure the table is at least 10–20cm wider than your part. You need space for clamps and fixtures. A crowded table makes for messy welds.
The Style: Circular tables are great for flanges. But if you do custom jobs every day, get a T-slot table. It lets you slide your jigs around like a Lego set—way more flexible for high-mix production.
4. Drive System: Precision vs. Price
This is where people waste the most money.
VFD (Variable Frequency): Cheap, reliable, and perfect for manual welding where the operator’s eye is the sensor.
Stepper: Okay for light parts, but they can “skip” under heavy loads. I usually avoid these for heavy industrial work.
Servo Motor: Non-negotiable for robotic integration. If you need the positioner to talk to a FANUC or Yaskawa arm with 0.1° accuracy, you need a servo. If you’re just welding fence posts, a VFD is fine. Don’t buy a Ferrari to go to the grocery store.
5. Control Logic: Keep it Practical
Manual: A foot pedal and a speed knob. Simple, rugged, and hard to break.
Semi-Auto: Good for “set it and forget it” batches (e.g., rotate 360°, then stop).
Full PLC/Robot Link: This is for the “lights-out” factory. The positioner becomes an extension of the robot. If you aren’t running a robot yet, make sure the controller you buy is “Automation Ready” so you can upgrade later without replacing the whole cabinet.
3 Common Pitfalls: Don’t Learn These the Hard Way
In my experience, most procurement mistakes happen because people buy based on “best-case scenarios.” In the real world, things are off-center, dirty, and complicated. Here are the three biggest traps to watch out for:
1. Ignoring the “Off-Center” Factor (Eccentricity) This is the number one killer of positioner motors. Just because your part weighs 500kg and the machine is rated for 1,000kg doesn’t mean you’re safe. If you’re welding an L-shaped bracket or an offset manifold, that weight isn’t balanced. As it rotates, it creates a “pendulum effect” that fights the gears. If you don’t calculate the Center of Gravity (COG), you’ll deal with shaky rotation, poor weld beads, and eventually, a sheared drive pin—even if you’re “under weight.”
2. Over-Specifying for No Reason I’ve seen shops buy a 3-axis tilting/lifting positioner to weld simple pipe flanges. It’s a waste of money. Not only is the initial check bigger, but the controls are more complex, meaning your operators spend more time fiddling with the pendant than actually welding. If a simple 1-axis turntable or a basic 2-axis tilt-turn gets the job done, stick with it. It’s easier to maintain and faster to set up.
3. Treating “Protection Ratings” as an Option If your shop floor is full of grinding dust, flux, or oil mist, a “standard” motor isn’t going to last. I’ve seen unprotected motors seize up or burn out in less than six months because metallic dust worked its way into the windings. If you’re in a heavy industrial environment, don’t even look at anything below IP54. Spending a little more on better sealing (like IP65) up front is much cheaper than a week of downtime while you wait for a replacement motor.
The Engineer’s Shortlist: 4 Steps to the Right Welding Positioner
If you want to stop guessing and start welding, follow this workflow. It’s the same process we use when spec’ing out a new cell.
Step 1: Get the “Ground Truth” Don’t guess. Document the actual weight (part + fixture), the dimensions, and exactly where your weld seams are. Decide now if this is for a guy with a torch or a robot with a laser—the precision requirements change everything.
Step 2: Do the Math Multiply your total weight by at least 1.2 or 1.5. This isn’t just a safety buffer; it’s a longevity buffer. Then, pick your axes. If a simple tilt-and-turn handles the seams, don’t look at anything more complex.
Step 3: Pick Your “Brain” and “Brawn” Decide on the drive system. If you need 0.1° accuracy for a robot, you’re buying a Servo. If you just need a smooth spin for a manual welder, a VFD (Inverter) is your best friend. Choose a controller that your team can actually operate without a PhD.
Step 4: Check the “Hidden” Specs Look at the protection rating. If your shop is dusty, you need IP54 or better. Finally, look at the support. Does the vendor offer on-site commissioning, or are they just dropping a box at your door?
One Last Piece of Advice
Don’t get tunnel vision on the price tag. The “cheapest” positioner usually becomes the most expensive one once you factor in the custom fixtures you have to build yourself or the downtime when it breaks.
A solid manufacturer won’t just sell you a catalog model; they’ll look at your part drawings and say, “You need this specific T-slot layout and this offset motor to handle that L-bracket.” That expertise is what saves you money in the long run.

Let’s Dial In Your Setup 🛠️
Still not sure if that 2-ton model is overkill? Or worried about the eccentricity of an irregular part?
Drop a comment below with your specs:
Total Weight (Part + Fixture)
Workpiece Shape/Dimensions
Manual or Robotic Welding?
I’ll check the numbers and give you a straight answer on which configuration actually makes sense for your floor. Let’s get your project moving!